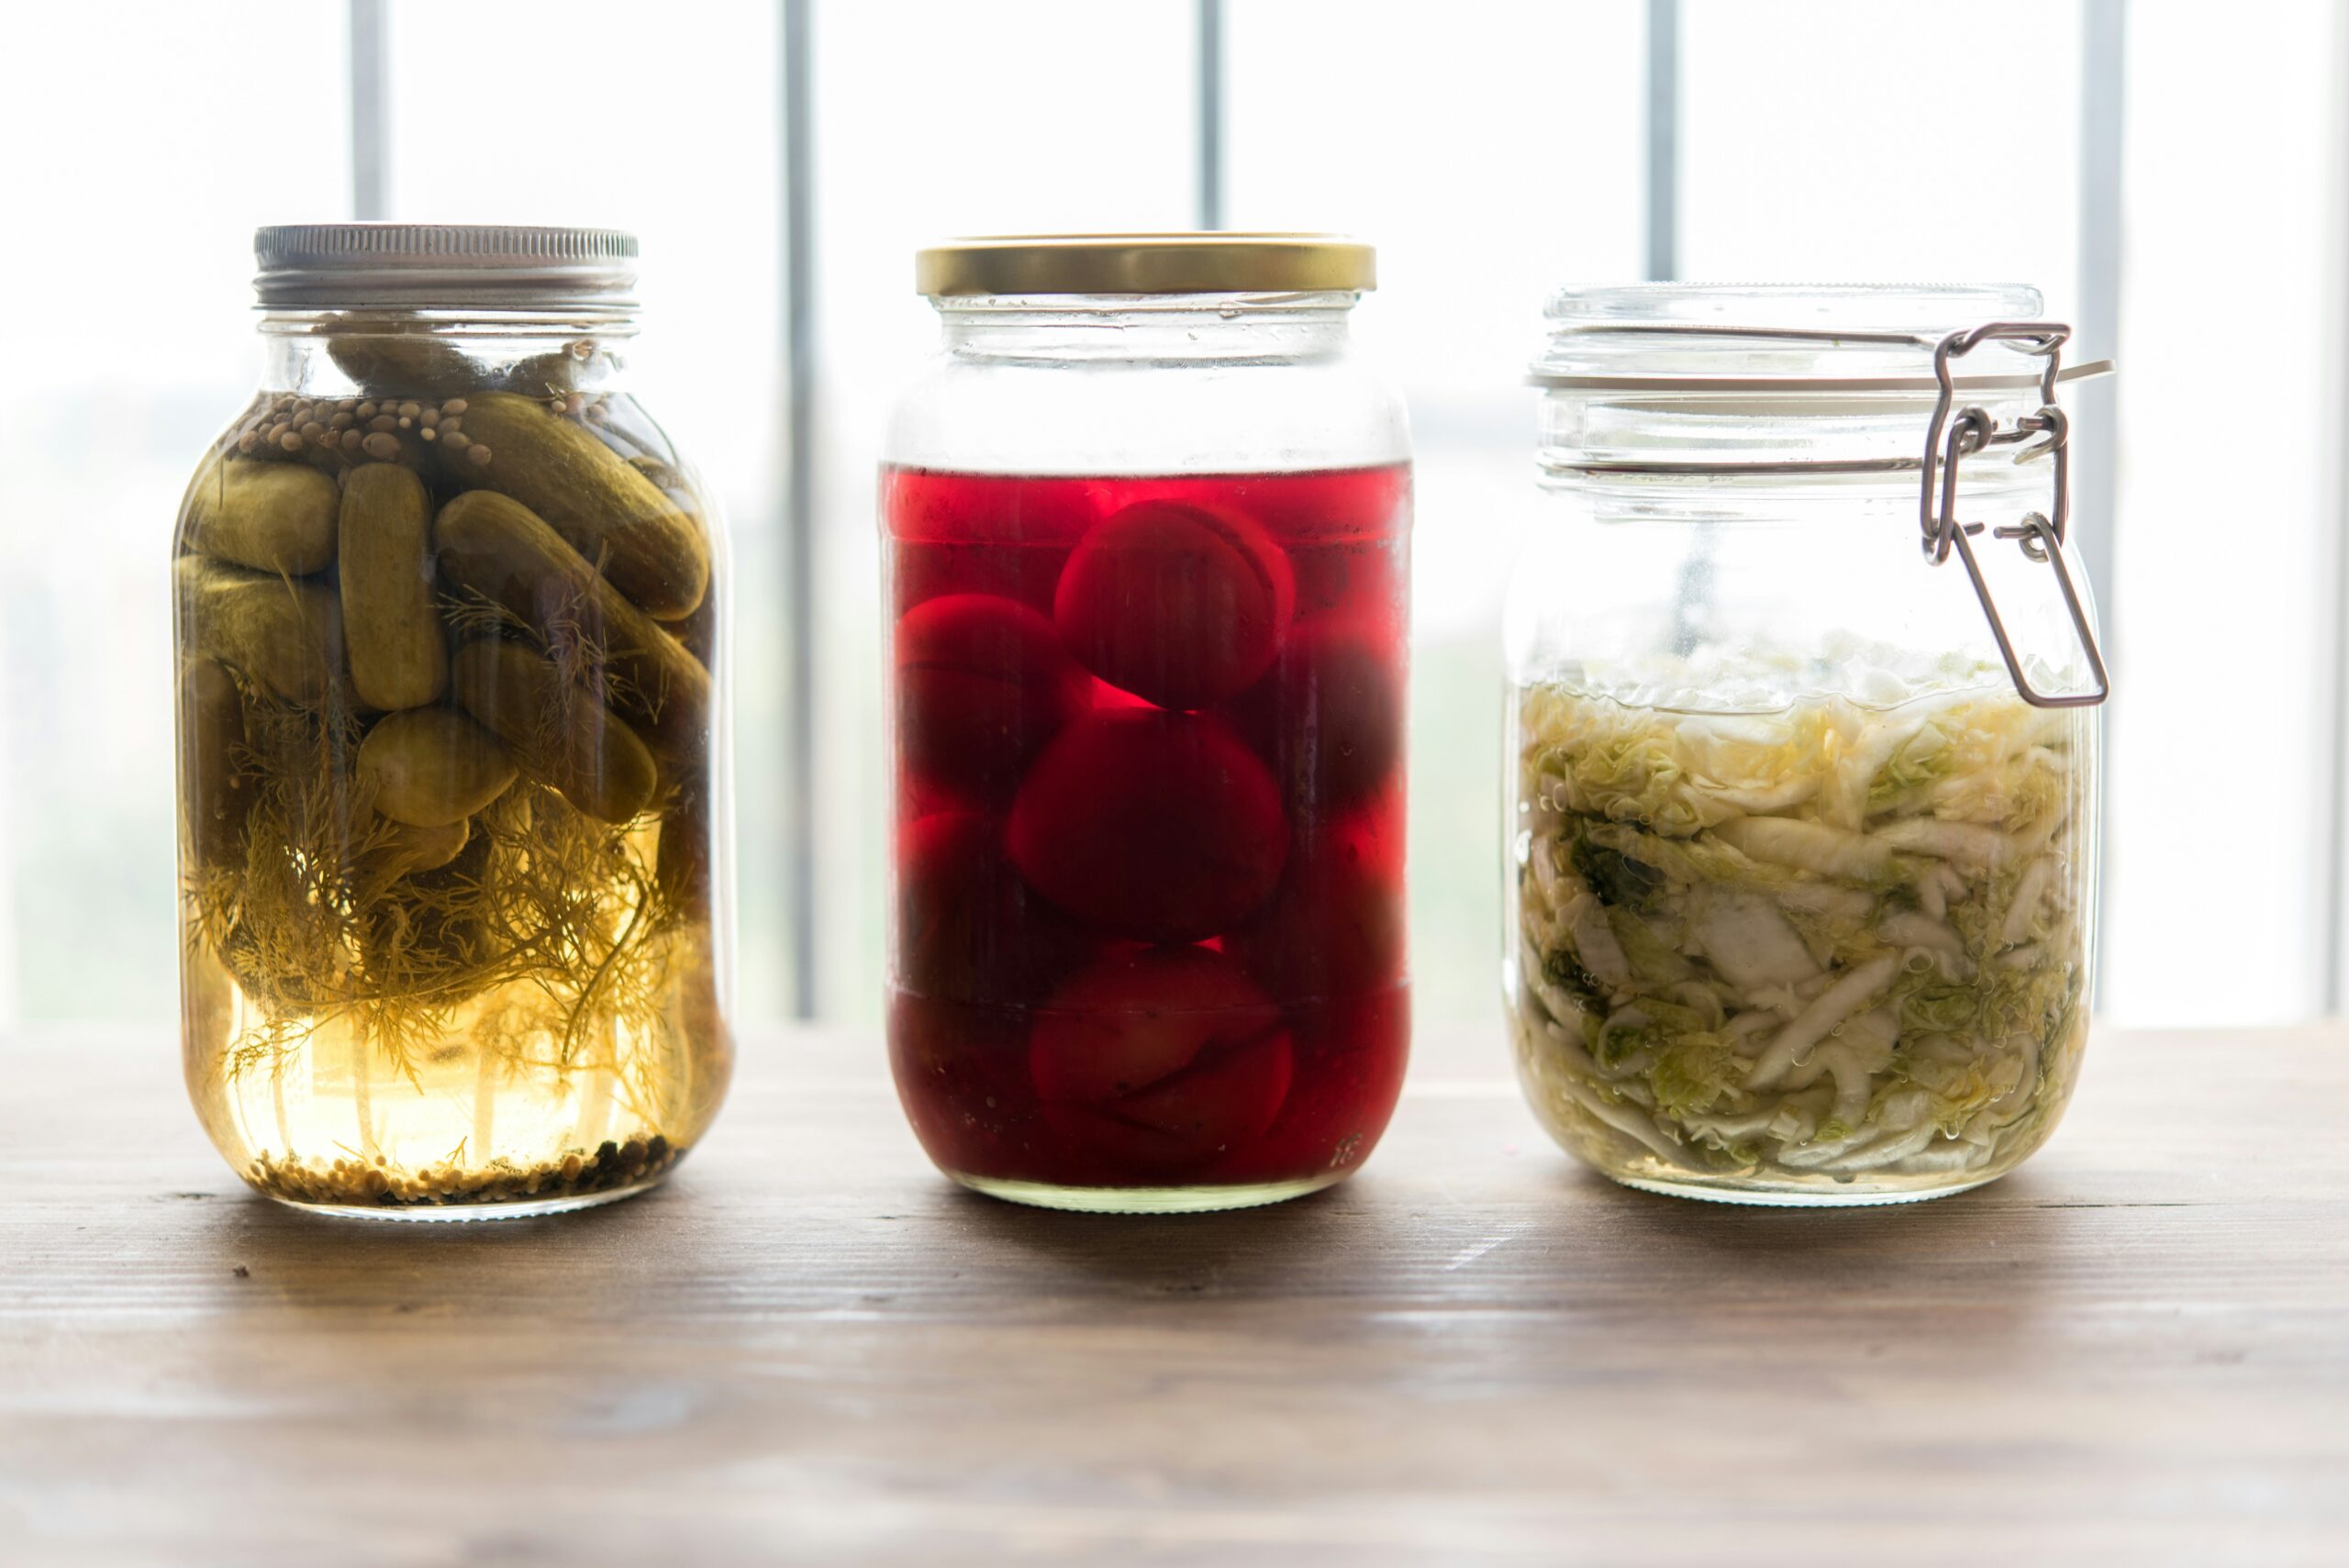
There’s something quietly satisfying about a jar of vegetables quietly bubbling on your countertop, transforming by the hour into something tangy, crunchy, and alive. Learning how to ferment vegetables at home is one of those rare kitchen skills that’s both surprisingly simple and genuinely rewarding — for your palate and, according to a growing body of research, potentially for your gut too. Whether you’re exploring fermentation for gut health, looking to stretch your grocery budget with budget fermented foods at home, or just curious about the science behind that pleasantly sour bite in a good kimchi, this guide walks you through everything you need. You’ll also find more practical how-tos across our Kitchen Tips section and in our broader Food articles.
What Is Lacto-Fermentation and Why Does It Matter?
Lacto-fermentation is a natural preservation process in which beneficial bacteria convert sugars in vegetables into lactic acid, creating tangy, probiotic-rich foods without vinegar or cooking.
The term “lacto” can be misleading — it has nothing to do with dairy. It refers to Lactobacillus, a family of bacteria naturally present on the surface of most raw vegetables. When you submerge vegetables in a saltwater brine and seal them from oxygen, these bacteria get to work, consuming the natural sugars in the vegetables and producing lactic acid as a byproduct. That lactic acid is what gives fermented vegetables their characteristic sharpness — the clean, bright tang you taste in sauerkraut or the deeper, complex sourness in a well-aged dill pickle.
This process is one of humanity’s oldest food preservation techniques, predating refrigeration by millennia. Today, interest has surged not just for the flavor but for the potential fermentation for gut health benefits associated with the live cultures these foods contain.
What Makes Fermented Vegetables Different from Pickled Ones?
A lot of people use “fermented” and “pickled” interchangeably, but they’re not the same thing. Vinegar pickles are preserved through acidity added from outside the jar. Lacto-fermented vegetables produce their own acid through a live microbial process — meaning a properly made jar of sauerkraut contains active cultures, while a shelf-stable vinegar pickle generally does not. The taste reflects this: lacto-ferments often have a more layered, mellow sourness compared to the sharp, one-note tang of vinegar pickling.
What Equipment and Ingredients Do You Actually Need?
To ferment vegetables at home, you need very little: a clean glass jar, non-iodized salt, filtered or unchlorinated water, and fresh vegetables — no special equipment required for basic ferments.
One of the most appealing things about homemade fermented vegetables is how low the barrier to entry is. Here’s what a basic setup looks like.
Essential Equipment
A wide-mouth mason jar in a quart or half-gallon size is the standard starting point. You’ll want something to weigh your vegetables down below the brine — a small zip-lock bag filled with brine works perfectly, as does a clean river stone or a purpose-made fermentation weight. An airlock lid can help beginners feel more confident (it releases CO2 without letting oxygen in), but it’s entirely optional. Many seasoned fermenters use nothing more than a standard lid loosened slightly to burp the jar daily.
The Only Two Ingredients You Truly Need
Salt and vegetables. That’s the core of it. The salt you use matters: iodized table salt can inhibit the beneficial bacteria you’re trying to cultivate, so reach for kosher salt, sea salt, or pickling salt instead. For water, chlorinated tap water can also interfere with fermentation — filtered water or water left to sit uncovered for a few hours to off-gas chlorine works well.
How to Ferment Vegetables at Home: Step-by-Step
The basic process involves salting or brining your vegetables, packing them tightly into a jar, keeping them submerged below the liquid, and letting them ferment at room temperature for two to seven days depending on your taste preference.
Step 1: Choose and Prepare Your Vegetables
Nearly any vegetable ferments well, but firm ones with lower water content — cabbage, carrots, radishes, beets, green beans, and cauliflower — tend to hold their crunch best. Wash your vegetables thoroughly but avoid scrubbing too aggressively; some of those beneficial bacteria live on the skin. Slice, shred, or chop to your preferred texture. Finer cuts ferment faster; thicker pieces take longer and stay crunchier.
Step 2: Salt Your Vegetables
For most vegetable ferments, a brine concentration of 2–3% salt by weight is the sweet spot — enough to suppress harmful bacteria while letting Lactobacillus thrive. For a simple quart jar, dissolve 1 tablespoon of non-iodized salt in 2 cups of filtered water for a standard brine. For shredded cabbage (sauerkraut), you can salt directly: use about 2% of the vegetable’s weight in salt, massage it in firmly, and let the cabbage release its own liquid — no added water needed. Unlike canning, where anaerobic conditions can trap dangerous pathogens like Clostridium botulinum, lacto-fermentation quickly drops the pH below 4.6, creating an acidic, salty environment where botulism-causing bacteria cannot survive or produce toxins.
Step 3: Pack the Jar and Submerge
Pack your salted vegetables tightly into the jar, pressing down firmly so the liquid rises above the vegetables. This is the most important step: any vegetable exposed to air above the brine can develop surface mold. Use your weight or bag to keep everything submerged, then cover loosely or with an airlock lid.
Step 4: Ferment at Room Temperature
Store your jar at room temperature, away from direct sunlight. Ideal fermentation temperatures fall between 65°F and 75°F (18–24°C). Check the jar daily — burp it if using a standard lid to release built-up CO2, push vegetables back below the brine if they float, and taste starting on day two. Most ferments hit a pleasant tang by day three to five. Warmer kitchens ferment faster; cooler ones slower.
Step 5: Refrigerate When Ready
Once the flavor suits you, seal the jar and move it to the refrigerator. Cold temperatures dramatically slow fermentation, so your ferments will continue to develop slowly but stay pleasantly tangy for weeks to months. The flavor typically deepens and mellows over time.
Fermentation for Gut Health: What Does the Research Say?
Some research suggests that regularly consuming fermented foods may support gut microbiome diversity, though the evidence is still evolving and individual responses can vary significantly.
The connection between fermented foods and gut health has received growing scientific attention. Evidence-based analyses of fermented foods and gut microbiome health suggest that the live cultures present in unpasteurized ferments may help support a diverse and balanced gut microbiome. Microbiome diversity is increasingly associated with general digestive comfort and immune function, though the science is still developing and results vary between individuals.
A 2021 study published in Cell (PMID: 34256014 via PubMed/NCBI) found that a diet high in fermented foods increased microbiome diversity and decreased markers of immune activation in healthy adults over a ten-week period, compared to a high-fiber diet group.
It’s worth noting that not all fermented vegetables contain the same probiotic load — pasteurized products have their live cultures destroyed by heat, and the specific strains present vary by vegetable, salt concentration, and fermentation time. Homemade, unpasteurized ferments tend to contain the most active cultures.
The World Health Organization, in its WHO dietary guidelines on healthy eating, supports the consumption of high-fiber and minimally processed plant foods as part of a balanced diet, noting that dietary diversity is associated with better health outcomes.
A Quick Comparison: Popular Vegetables for Home Fermentation
| Vegetable | Method | Typical Fermentation Time | Flavor Profile | Difficulty Level |
|---|---|---|---|---|
| Cabbage (Sauerkraut) | Dry salt & massage | 5–14 days | Tangy, slightly sweet, earthy | Beginner |
| Carrots | Brine submersion | 3–7 days | Mildly sour, still sweet, crunchy | Beginner |
| Radishes | Brine submersion | 3–5 days | Peppery, tangy, slightly funky | Beginner |
| Beets | Brine submersion | 5–10 days | Earthy, sweet-sour, deep | Intermediate |
| Green Beans (Dilly Beans) | Brine submersion with dill & garlic | 5–7 days | Garlicky, herbaceous, pleasantly tart | Beginner |
| Cauliflower | Brine submersion | 5–10 days | Mellow sour, absorbs spices well | Beginner |
Practical Lacto-Fermentation Kitchen Tips to Get It Right Every Time
The most common beginner mistakes in home fermentation involve improper salt ratios, vegetables exposed above the brine, or using chlorinated water — all of which are easy to avoid with a few simple habits.
Managing Salt, Temperature, and Timing
Salt concentration is your most powerful variable. Too little (under 1.5%) and you risk encouraging the wrong bacteria; too much (over 3.5%) and fermentation slows dramatically or stalls. A kitchen scale takes all the guesswork out — weigh your water and calculate 2% by weight for a reliable, repeatable brine every time. These are the kinds of lacto-fermentation kitchen tips that separate reliably good results from frustrating failures.
What Does Normal Look Like — and What Isn’t?
A few things will alarm new fermenters that are completely normal: bubbling (CO2 from active fermentation), cloudiness in the brine (healthy bacterial activity), and white sediment at the bottom (dead yeast and bacteria). What you don’t want is fuzzy mold growing on the surface — pink, black, or green fuzzy patches indicate contamination, typically from vegetables exposed to air. A white, flat, smooth film called kahm yeast is harmless but can impart off-flavors; skim it off if it appears.
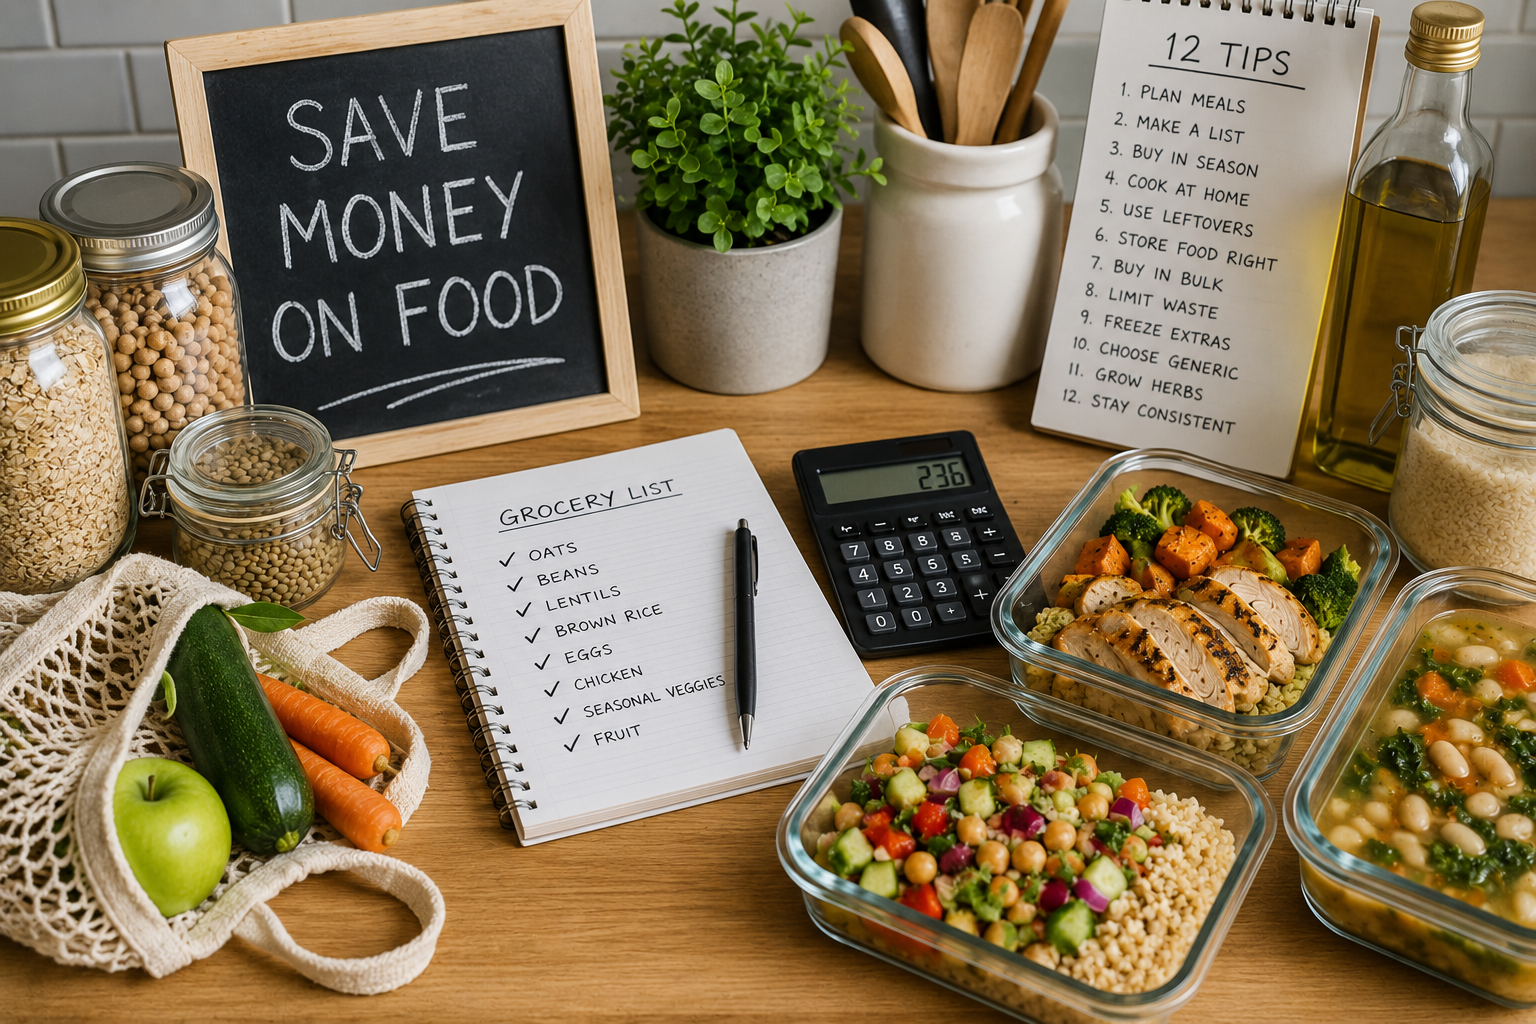
How to Make Fermented Foods Fit a Tight Budget
Fermentation is genuinely one of the most economical food practices in the kitchen. A head of cabbage costing around a dollar yields a quart of sauerkraut that would cost four to six dollars at a natural foods store. Buying seasonal vegetables in bulk and fermenting them extends their usable life by months. These are the practical wins that make budget fermented foods at home such a compelling argument for the practice beyond just the health angle.
Alternative Perspectives
While enthusiasm around fermented foods and gut health is high, it’s worth noting that the science is not yet settled. Some nutrition researchers caution that many probiotic studies are small-scale, short-term, or funded by the food industry, making broad conclusions premature. Individual microbiome composition varies enormously, and a fermented food that benefits one person’s digestion may cause bloating or discomfort in another — particularly for people with small intestinal bacterial overgrowth (SIBO) or histamine intolerance, who are sometimes advised to limit fermented foods. Additionally, while fermented vegetables contain beneficial compounds, they are also high in sodium due to the salt required for fermentation, which may be a consideration for people managing blood pressure. As with most dietary choices, context and individual health status matter — consulting a registered dietitian is always a sensible step before making significant dietary changes.
Frequently Asked Questions
Vegetable fermentation typically takes 3 to 7 days at room temperature, depending on three variables:
– Ambient Temperature: The ideal range is 65°F–75°F (18°C–24°C). Warmer kitchens speed up the process, while cooler environments slow it down.
– Vegetable Density: Hard root vegetables (like beets or cauliflower) take longer to soften and ferment than shredded cabbage or sliced radishes.
– Taste Preference: Start tasting your ferment on Day 2. As soon as it reaches your preferred tanginess, seal the jar and transfer it to the refrigerator to slow down active fermentation.
Yes, home lacto-fermentation is incredibly safe if you follow three fundamental kitchen rules:
– Maintain Salt Ratios: Use a 2%–3% non-iodized salt brine to suppress harmful pathogens while allowing beneficial Lactobacillus to thrive.
– Total Submersion: Keep all vegetables completely below the liquid brine. Oxygen exposure is what allows surface mold to grow.
– Acidic Protection: The lactic acid produced naturally drops the pH level below 4.6. This acidic environment is completely hostile to dangerous bacteria, including the ones that cause botulism.
Yes. Unpasteurized, raw homemade fermented foods are rich in live microorganisms. Unlike most store-bought versions, they feature:
– Active Strains: Primarily wild Lactobacillus and beneficial lactic acid bacteria.
– No Heat Treatment: Because they aren’t pasteurized, the live cultures remain intact, whereas commercial pasteurization kills off probiotics.
– Microbiome Support: Landmark clinical trials (such as the 2021 study published in Cell) confirm that regular consumption of fermented foods significantly increases gut microbial diversity and lowers inflammation.
Cabbage and carrots are the absolute best starting points for beginners:
– Cabbage (Sauerkraut): It is highly forgiving, packs a lot of natural moisture (meaning it creates its own brine when massaged with salt), and has a long history of reliable success.
– Carrots: They hold their crunch beautifully, do not get mushy easily, and pair perfectly with simple aromatics like garlic and dill. Both options are cheap, widely available, and perfect for practicing your technique.
Disclaimer: While lacto-fermentation is historically safe due to the protective nature of lactic acid, proper sanitation and salt ratios are non-negotiable. Homemade ferments are high in live biogenic amines (histamines) and dietary sodium. Individuals with histamine intolerance, Small Intestinal Bacterial Overgrowth (SIBO), or severe hypertension should consult a physician or registered dietitian before introducing unpasteurized fermented foods into their diet.