Your bathroom can feel tired and outdated long before anything actually breaks down. The good news is that a full gut renovation is rarely necessary to bring new life to the space. A thoughtful DIY bathroom refresh can transform the look and function of your bathroom in a weekend or two, without the five-figure price tag that comes with a complete remodel. Whether you are working with a tiny hall bath or a sprawling master suite, these practical updates deliver real visual impact for modest time and money investments.
What Can a DIY Bathroom Refresh Actually Accomplish?
Most homeowners underestimate how much impact surface-level changes make. A DIY bathroom refresh covers cosmetic and minor functional upgrades — regrouting, fixture swaps, painting, and accessory updates — that can dramatically improve a bathroom’s appearance and efficiency without touching the plumbing rough-in or structural walls. Fresh grout, a new coat of paint, updated hardware, and a modern showerhead can shift a bathroom from 2003 to 2026 without a single permit. The key is knowing where to invest your effort and where to draw the line between DIY and professional work.
Set Realistic Expectations Before You Start
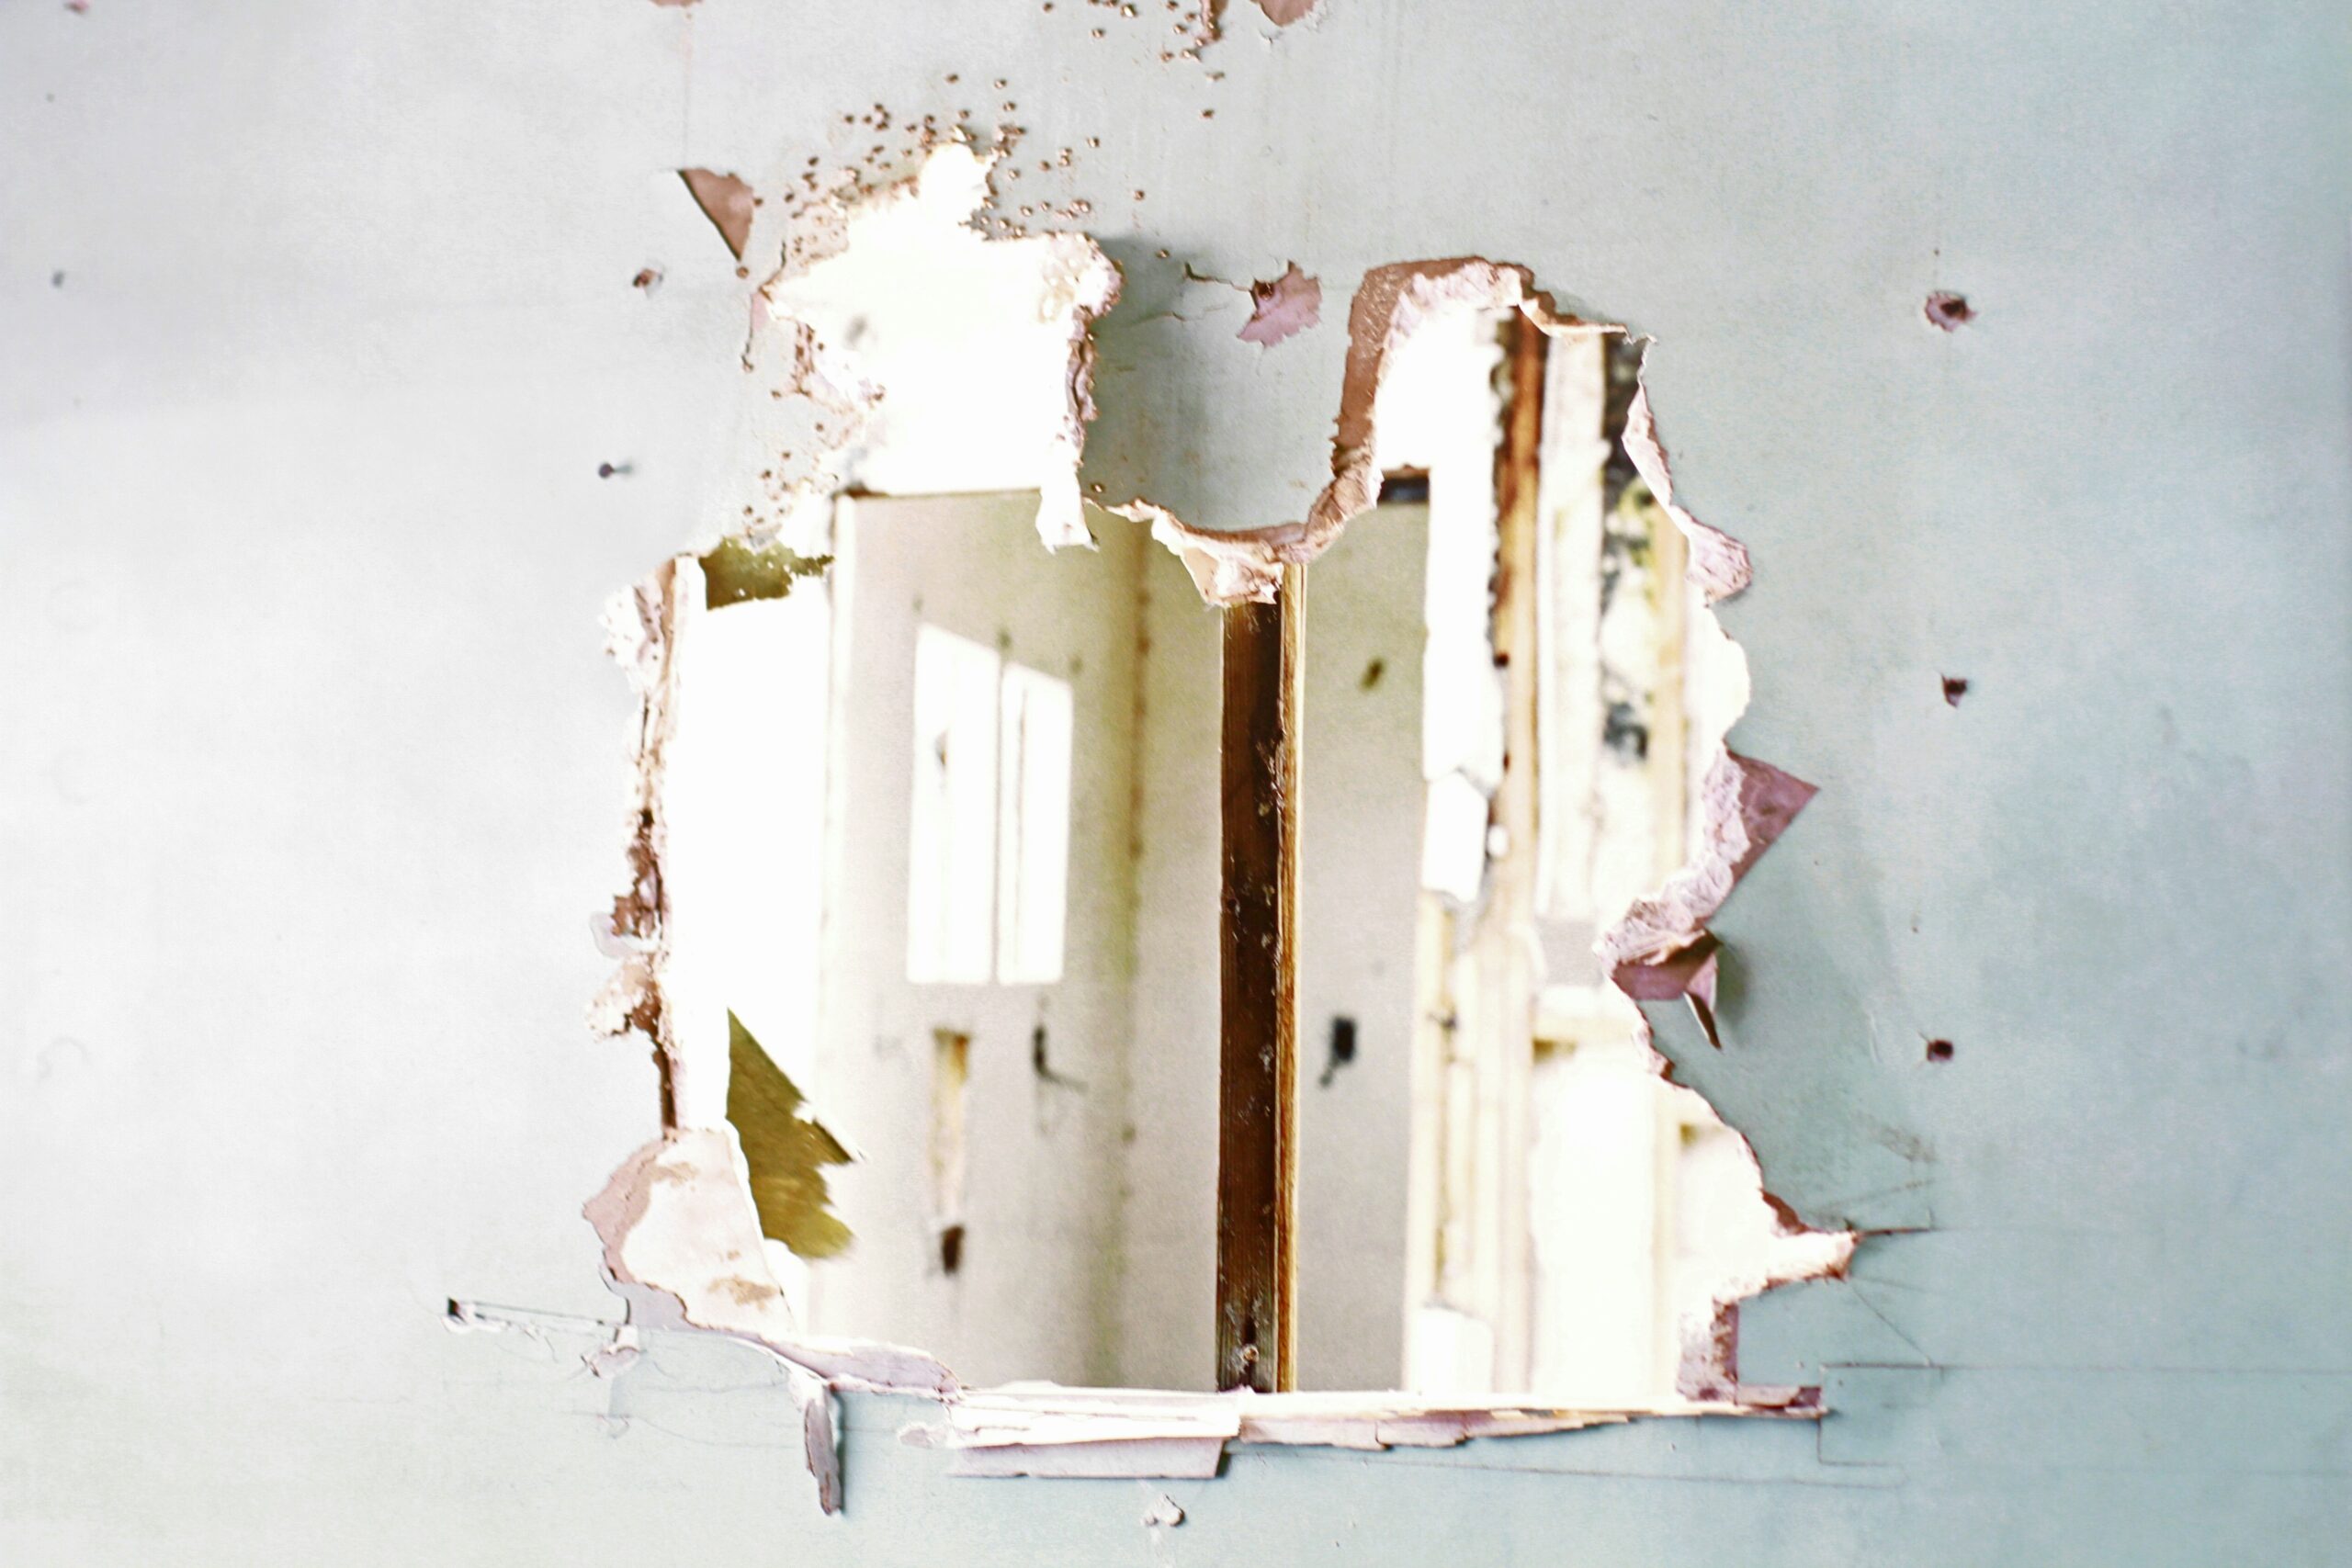
A refresh is not a remodel. If your subfloor is rotting, your tile is cracked through to the backer board, or your ventilation fan is venting into the attic instead of outside, those issues need licensed professional attention first. A fresh coat of paint over a moisture problem will not fix the moisture problem. Be honest about what you are looking at before you spend a dollar on supplies.
One more thing worth flagging before you begin: in homes built before 1980, asbestos-containing materials may be present in floor tiles or drywall compound. Have a licensed inspector assess the space before disturbing any original surfaces.
How to Regrout Bathroom Tile: A Step-by-Step Breakdown
Dingy, cracked, or moldy grout is one of the biggest reasons bathrooms look run-down, and regrouting is one of the highest-impact repairs you can tackle yourself. The process involves removing old, discolored grout with a grout saw or oscillating tool and applying fresh grout in the same or a new color — most DIYers can complete a standard bathroom in a weekend for under $75 in materials, with no special skills required beyond patience and elbow grease.
What You Will Need
- Grout saw or oscillating multi-tool with a grout removal blade
- Unsanded grout for joints under 1/8 inch, or sanded grout for wider joints
- Rubber grout float
- Penetrating grout sealer
- Painter’s tape, sponges, and clean water
Budget roughly $40 to $75 for materials depending on the size of your tiled area.
The Regrouting Process
Start by removing the old grout to a depth of about 1/8 inch using your grout saw or oscillating tool, working carefully to avoid chipping tile edges. Vacuum and wipe the joints clean, then dampen the tiles slightly before applying new grout with your rubber float, pressing it firmly into the joints at a 45-degree angle. Wipe away excess with a damp sponge before it sets. Allow the grout to cure for the time specified on the packaging — typically 24 to 72 hours — then apply a penetrating grout sealer to protect your work.
Difficulty: Moderate • Time: One full weekend • Cost: $40–$75
When Should You Steam Clean Before Regrouting?
If your existing grout is stained but structurally sound, a deep steam clean may be all you need before deciding to regrout. Steam effectively lifts soap scum and mildew from tile and grout without chemicals, and it can reveal whether the grout itself is failing or simply dirty.
Upgrading Fixtures: Big Looks on a Small Budget
Swapping outdated faucets, towel bars, toilet paper holders, and showerheads is one of the fastest ways to modernize a bathroom. Most fixture upgrades cost between $50 and $300 in materials and can be completed in a single afternoon with basic hand tools — no plumber required.
Replacing a Showerhead
Replacing a standard showerhead takes about 15 minutes and requires only an adjustable wrench and plumber’s tape. Beyond the cosmetic upgrade, the efficiency gains are real. According to the EPA’s WaterSense program, swapping a standard showerhead for a WaterSense-labeled model can reduce water use by 20% and save a household up to 2,700 gallons of water per year, without sacrificing water pressure or shower quality. WaterSense-labeled showerheads are widely available at hardware stores for $20 to $80, making this one of the best value upgrades in any budget bathroom update.
Faucet and Hardware Swaps
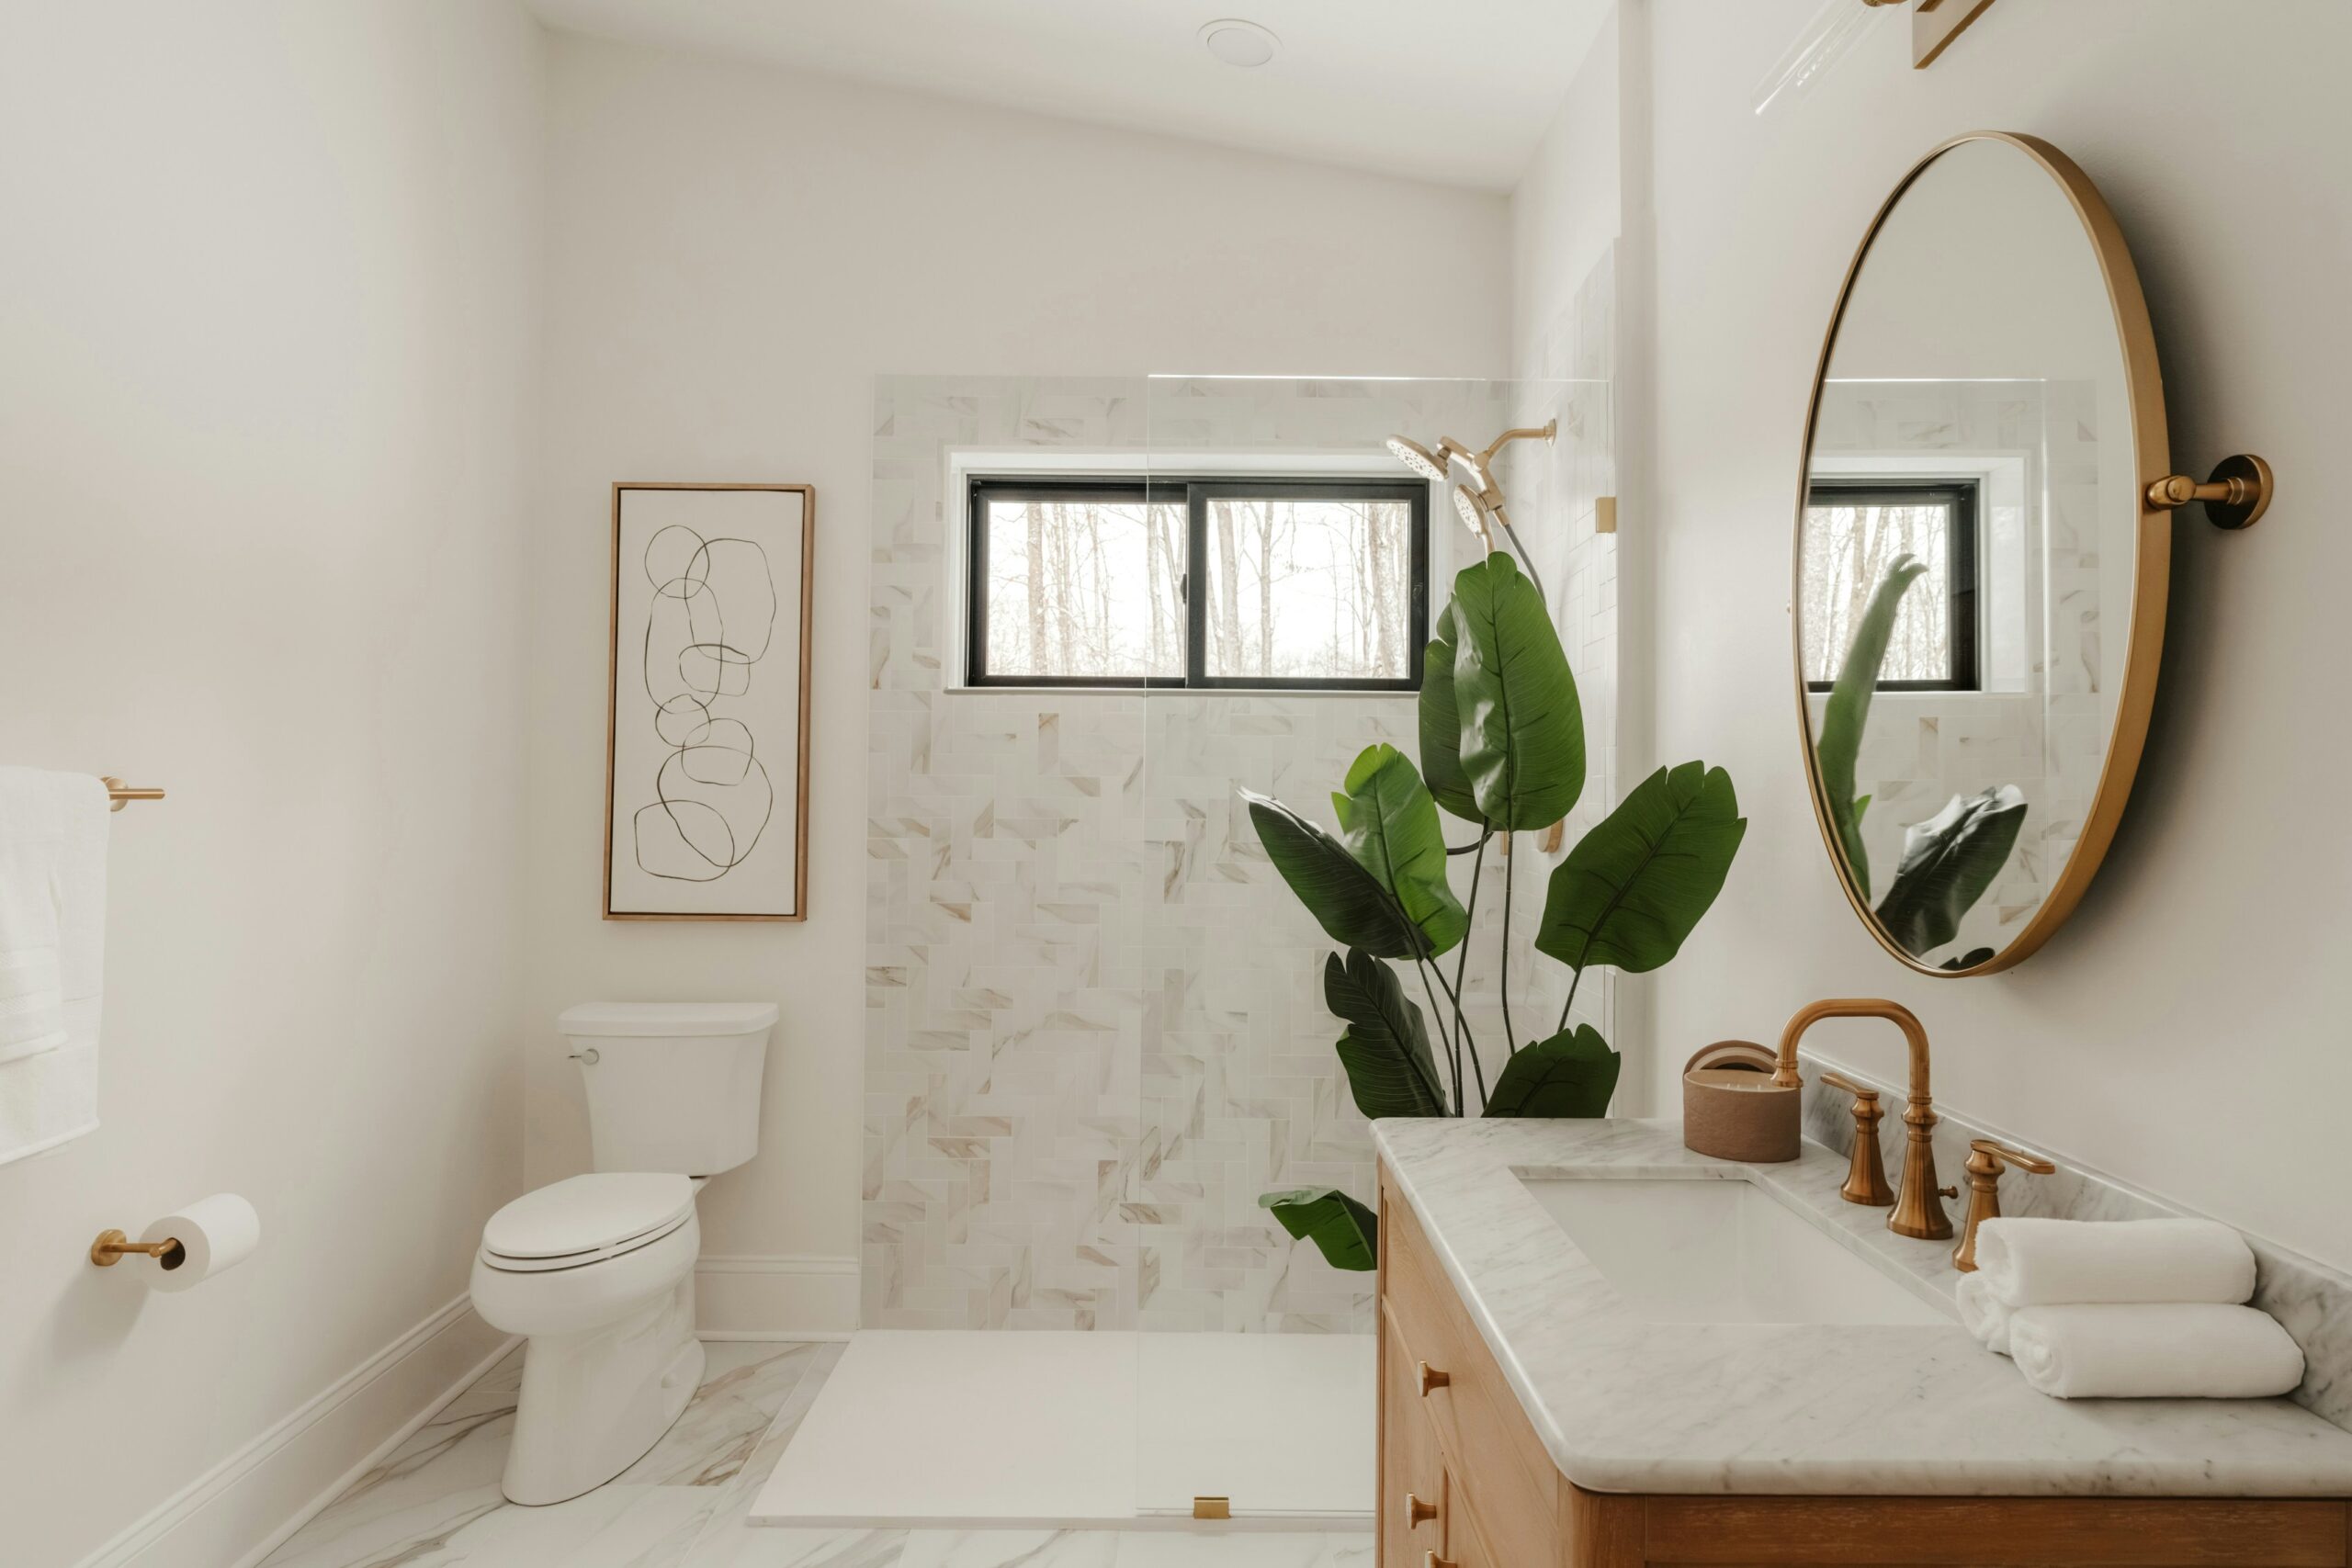
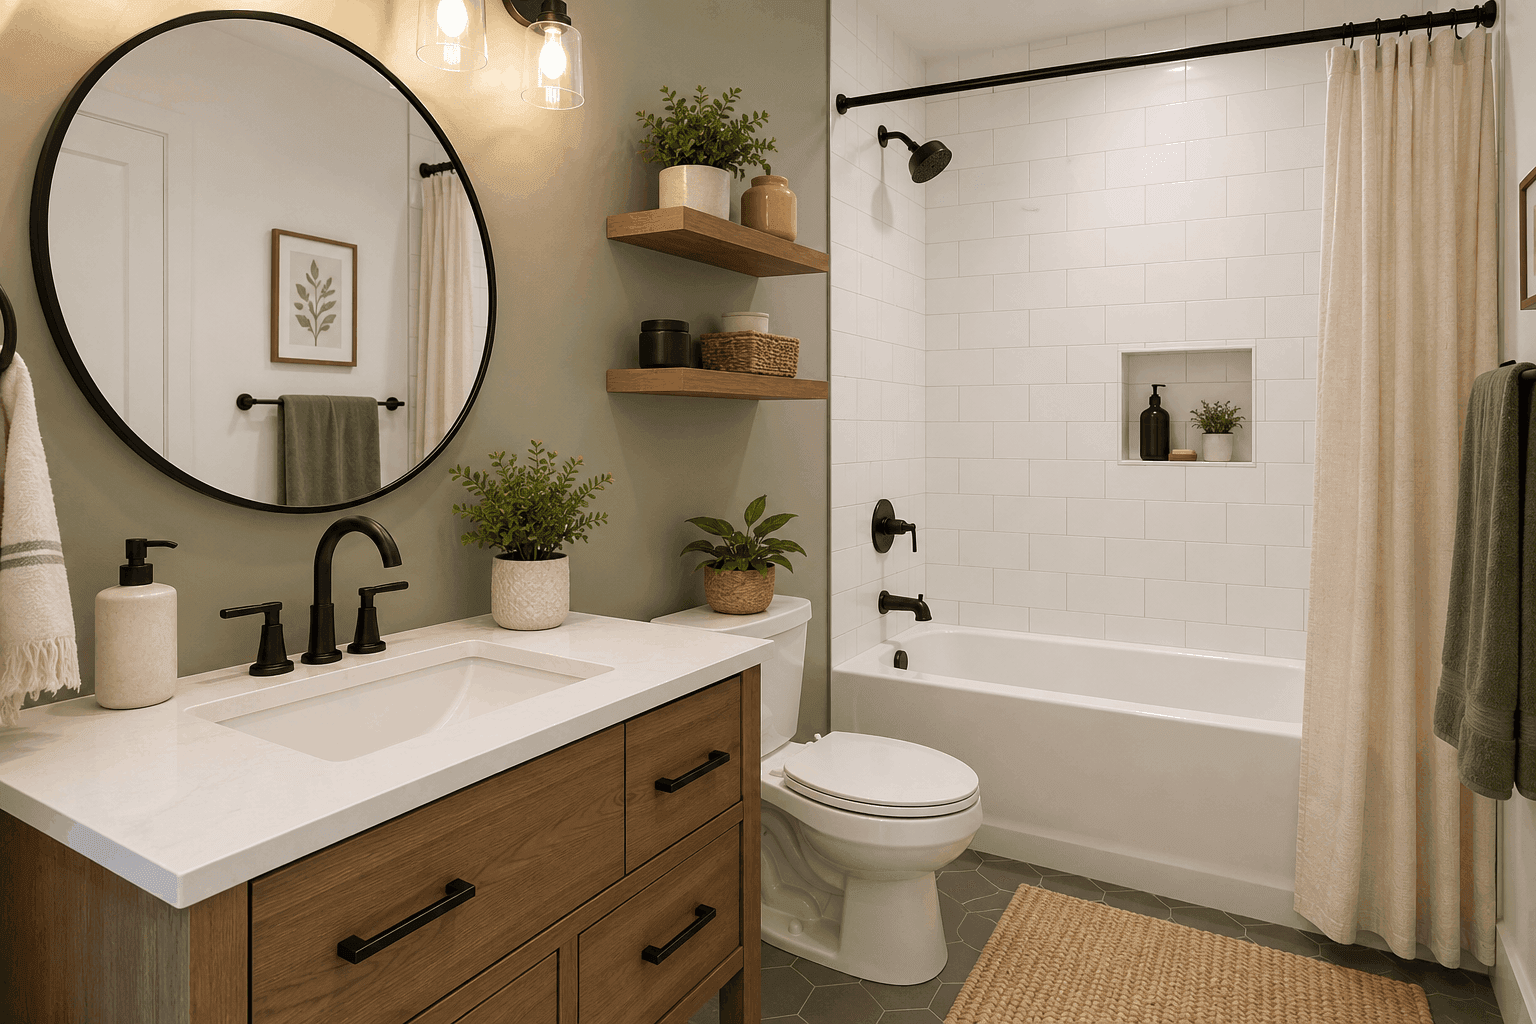
Brushed nickel, matte black, and oil-rubbed bronze are all current finishes that can make a builder-grade bathroom feel intentional and modern. When replacing faucets, confirm the number of holes in your sink deck before purchasing — most sink faucets are single-hole or three-hole configurations. Replacing a sink faucet yourself is reasonable for a confident beginner and typically takes one to two hours. If you encounter corroded shut-off valves or galvanized supply lines during the swap, call a plumber rather than forcing aging components.
Painting and Surface Updates
A fresh coat of paint is one of the fastest and most affordable ways to transform a bathroom. The catch is that not all paint performs equally in humid environments — bathroom-specific interior latex with built-in mildewcide and a satin or semi-gloss sheen is essential. Flat paints trap moisture and promote mildew growth. A gallon of quality bathroom paint runs $35 to $55 and covers roughly 350 to 400 square feet, more than enough for most bathroom walls. With proper ventilation, a bathroom-specific paint can hold up for five or more years in high-humidity conditions.
Difficulty: Beginner • Time: One day plus drying time • Cost: $50–$100 with supplies
Vanity Painting: Is It Worth the Effort?
A dated wood or MDF vanity can be transformed with the right primer and a cabinet-specific or water-based alkyd paint. Lightly sand the surfaces, apply a bonding primer, and follow with two thin topcoats. The result can look nearly as good as a vanity replacement at a fraction of the cost. Expect to spend $60 to $100 in materials and a full weekend including drying time between coats.
Ventilation: The Overlooked Upgrade
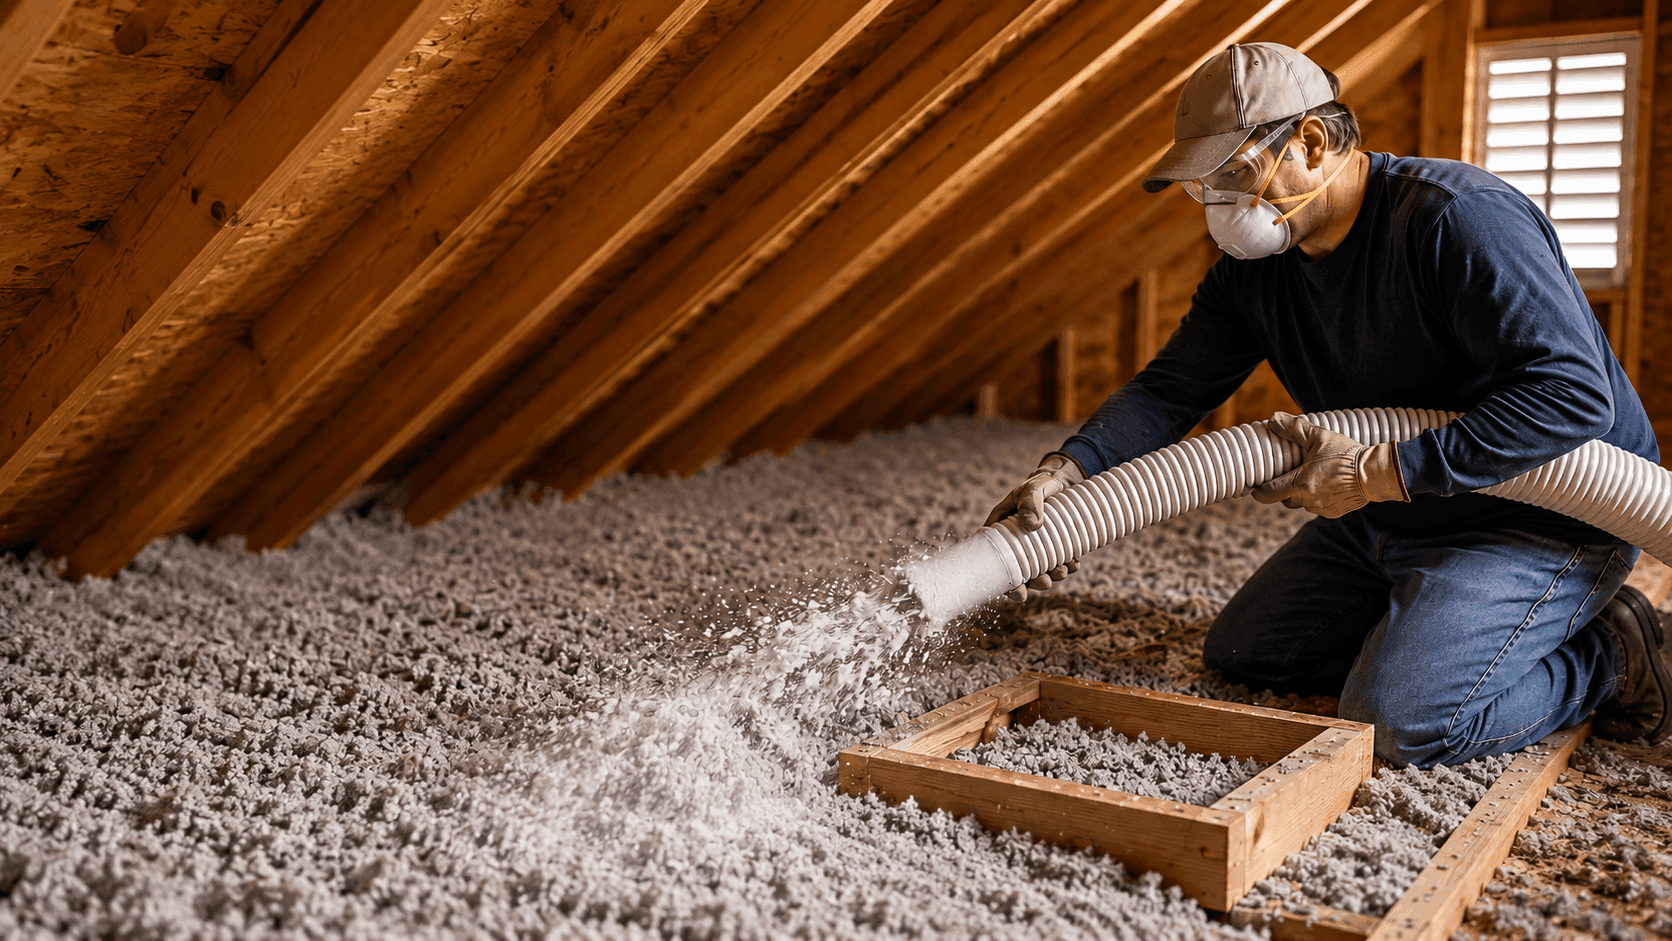
A properly sized and externally vented exhaust fan is one of the most important functional upgrades in any bathroom refresh — and one of the most commonly skipped. Many older bathrooms are underpowered for their square footage, or vented into the attic rather than outside. Both situations cause moisture buildup that leads to mold, peeling paint, and structural damage over time. The US Department of Energy’s guidance on bathroom ventilation identifies proper airflow as a critical component of any bathroom improvement project, connecting inadequate ventilation directly to moisture-related damage and indoor air quality issues.
Replacing an exhaust fan is a moderate DIY task if you are comfortable working in your attic and with basic electrical connections. However, if your existing duct needs to be rerouted, or if you are adding a fan where none existed, hire a licensed electrician and potentially an HVAC professional to ensure the duct terminates outside — not into the attic.
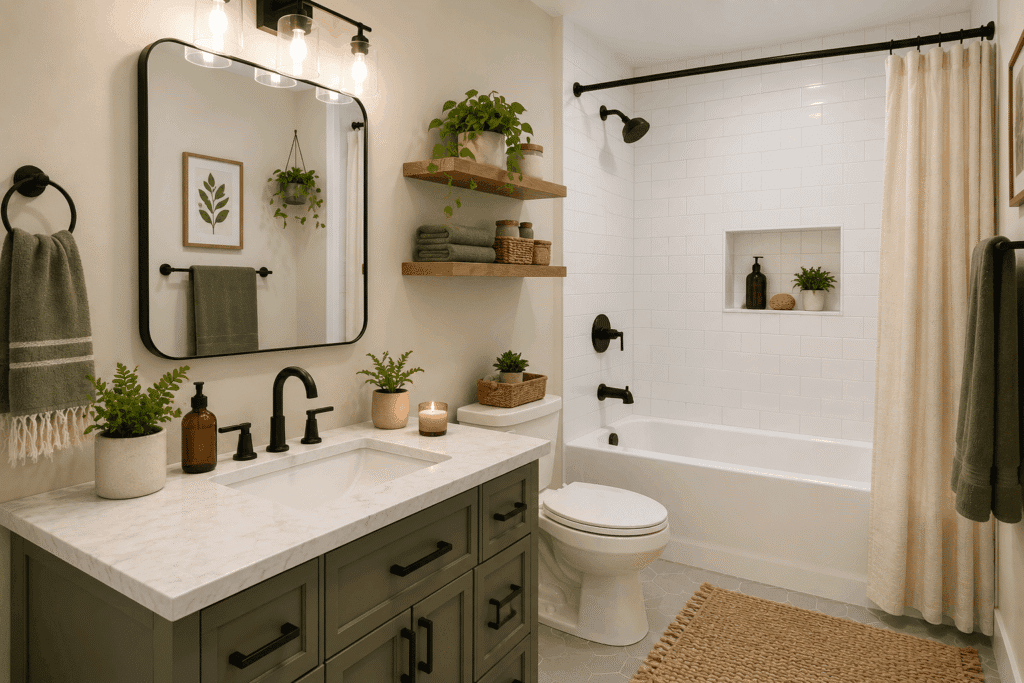
Bathtub Refinishing: What Are the Risks?
Bathtub refinishing can restore the look of a stained or scratched tub for $200 to $600 professionally applied. DIY spray-on kits are sold for $30 to $90, but they carry serious chemical exposure risks that most residential environments cannot safely accommodate. According to the CDC/NIOSH Science Blog, bathtub refinishing products often contain methylene chloride and isocyanates — chemicals associated with respiratory damage and, in severe cases, death. NIOSH recommends that refinishing work be performed only with supplied-air respirators and robust ventilation, conditions that are difficult or impossible to achieve in a standard residential bathroom.
⚠ WARNING: For the vast majority of homeowners, bathtub refinishing should be left strictly to licensed professionals, or bypassed entirely in favor of a tub liner. We strongly advise against using DIY spray-on kits containing hazardous solvents in residential environments. If you absolutely choose to proceed, confirm the kit is methylene chloride-free, seal off the bathroom from the rest of the house, run commercial-grade exhaust fans, wear a tight-fitting NIOSH-approved respirator with organic vapor cartridges (not a standard dust mask), and vacate the home for at least 24 hours after application.
DIY Bathroom Update on a Budget: Cost Comparison at a Glance
| Update | DIY Cost (USD) | Time Estimate | Difficulty | Pro Cost (USD) |
|---|---|---|---|---|
| Regrouting tile (standard bath) | $40–$75 | 1 weekend | Moderate | $200–$500 |
| Showerhead replacement | $20–$80 | 15–30 min | Beginner | $75–$150 |
| Wall painting (bathroom-specific) | $50–$100 | 1 day | Beginner | $200–$400 |
| Vanity painting | $60–$100 | 1–2 days | Moderate | $300–$700 |
| Exhaust fan replacement | $50–$150 | 2–4 hours | Moderate–Advanced | $150–$350 |
| Faucet replacement | $40–$200 | 1–2 hours | Moderate | $150–$400 |
| Bathtub refinishing | $30–$90 (kit) | 4–6 hours | Advanced (safety risks) | $200–$600 |
Bathroom DIY in 2026: What Has Changed?
Water efficiency standards, material innovations, and the availability of peel-and-stick tile overlays have expanded what homeowners can accomplish without professional help or structural changes. The EPA’s WaterSense program certifies bathroom faucets and showerheads that perform at least as well as standard models while using at least 20% less water — helping households reduce both utility bills and environmental impact without sacrificing function.
Peel-and-stick backsplash tiles have improved significantly in durability and variety. While not a permanent solution in wet shower environments, they work well on dry backsplash areas behind a vanity and can be swapped out when trends change. LED mirror upgrades with built-in lighting and anti-fog features are now available at mass-market retailers for under $150, and they install in about the same time as a standard mirror swap.
Alternative Perspectives
Some renovation professionals argue that cosmetic DIY refreshes can mask underlying problems and may complicate future full remodels if improper materials are used. They recommend having a licensed contractor assess a bathroom before any refresh work, particularly in homes built before 1980 where asbestos-containing materials may be present in floor tiles or drywall compound. On the other hand, many experienced DIYers and home inspectors point out that surface-level updates — painting, fixture swaps, regrouting — carry minimal risk when executed carefully and do not interfere with structural or mechanical systems. Both perspectives agree that transparency about a home’s refresh history is important at time of sale.
Frequently Asked Questions
How long does a DIY bathroom refresh typically take from start to finish?
Most homeowners can complete a full surface refresh — including regrouting, painting, and fixture swaps — over two weekends. Individual projects like showerhead replacement take as little as 30 minutes, while regrouting or vanity painting may require a full weekend including cure time. Planning your sequence so paint dries before you reinstall accessories will help you work efficiently.
Do I need a permit for any of these bathroom updates?
Purely cosmetic updates such as painting, regrouting, replacing fixtures in-kind, and swapping accessories generally do not require permits in most US and Canadian municipalities. However, moving or adding electrical outlets, relocating plumbing, or adding a new exhaust fan duct may trigger permit requirements. Always check with your local building department before starting any work that involves electrical or plumbing changes.
Can I refresh a bathroom without removing old tile?
Yes, provided the underlying surface is structurally sound with no cracked tiles or soft, spongy backer board. You can deep clean, regrout, or apply peel-and-stick tile overlays on dry backsplash areas behind the vanity. However, a strict rule applies to wet zones: do not use standard tile paint or DIY refinishing kits inside a shower surround or bathtub enclosure. High humidity and direct water contact will cause consumer-grade paints to peel within months. For wet areas, stick to a deep grout refresh or hire a professional reglazing service.
What is the single highest-impact change for refreshing a bathroom on a tight budget?
Fresh grout combined with a thorough deep clean consistently delivers the most dramatic visual improvement per dollar spent. If your tile is in good shape but your grout is yellowed, stained, or cracked, regrouting alone can make a bathroom look nearly new. After that, updated hardware — towel bars, toilet paper holder, faucet handles — in a consistent finish makes the biggest cosmetic difference for under $150 total.