A hole in your drywall does not have to mean a call to a contractor. Whether it is a small nail pop, a medium-sized doorknob dent, or a fist-sized gap from a plumbing repair, patching drywall is one of the most approachable DIY repairs a homeowner can tackle. With the right materials and a bit of patience between coats, most repairs cost under $30 and take less than a weekend to complete. For more hands-on home projects, browse our full DIY & Repair guides.
This guide covers every common hole size from hairline cracks to cuts larger than 6 inches, with honest time estimates, product recommendations, and the safety precautions that matter most. If your home was built before 1978 in the US or before 1990 in Canada, there are a few extra steps you should not skip before you pick up a sanding block. Staying on top of wall repairs is one of the small home maintenance priorities that protects your investment over time. Browse our Home articles for more practical guidance.
The techniques here follow best practices used by professional drywall finishers, simplified for the average homeowner with no special trade experience. Difficulty is rated on a 1 to 5 scale throughout, so you can decide quickly whether a repair is a Saturday afternoon project or something worth hiring out.
Key Takeaways
- Holes up to 6 inches wide can be patched with a self-adhesive mesh patch and joint compound for roughly $10 to $25 in materials, with a total project time of 4 to 8 hours including drying time.
- Holes larger than 6 inches require a California patch or a backing-board method using a new piece of drywall, which adds $5 to $15 in material cost but keeps the repair solid for decades.
- Homes built before 1978 (US) or before 1990 (Canada) may contain lead paint or asbestos in existing drywall and joint compound, requiring specific containment steps before any sanding begins.
- Vacuum-assisted sanding systems reduce airborne drywall dust by 80 to 97 percent compared to dry hand-sanding, according to NIOSH research, significantly lowering respiratory risk.
- Three thin coats of joint compound, feathered at least 6 to 8 inches beyond the patch edge, produce a smooth finish that blends with surrounding texture far better than one thick application.
What You Need Before You Start
Gathering the right tools and materials before you begin saves multiple hardware store trips and keeps the project moving without long delays between steps.
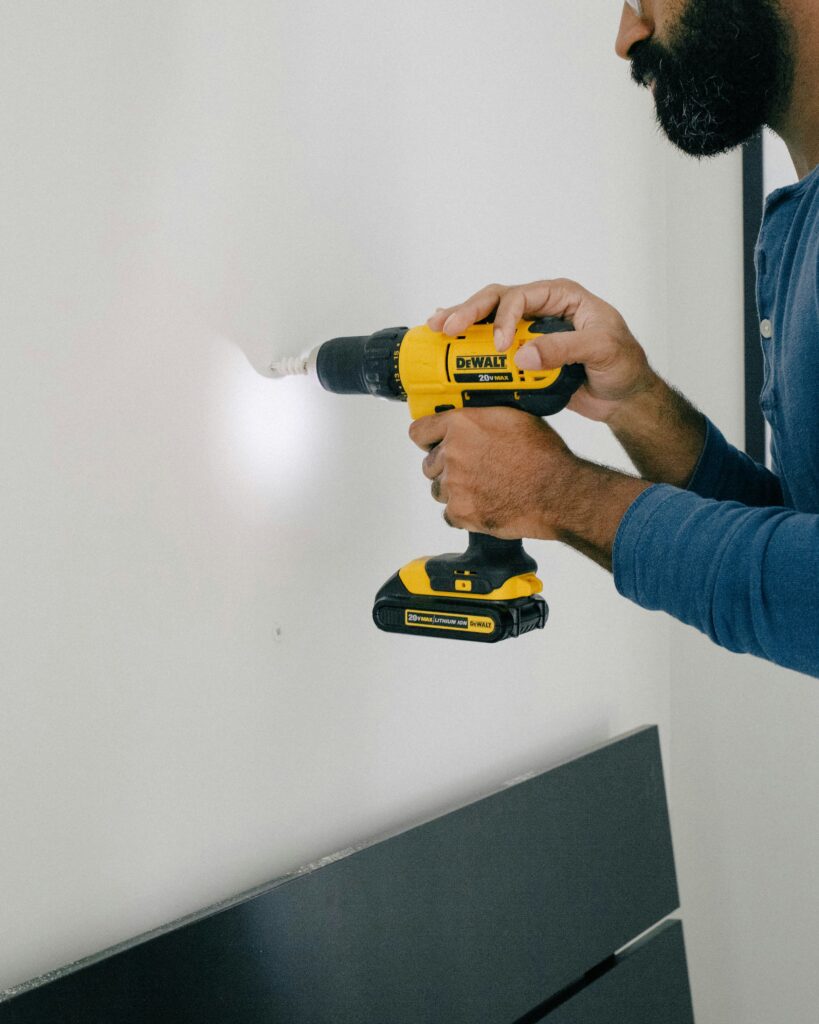
Most drywall repairs call for some combination of the following. A 6-inch or 8-inch drywall knife is the single most useful tool you can own for this job. Pick up a pre-mixed all-purpose joint compound (sometimes labeled “all-purpose mud”) in a 1-gallon tub for about $8 to $12. Lightweight compound is easier to sand but takes slightly longer to dry, so either works fine for repairs.
For holes under half an inch, you only need spackling paste and a putty knife. For holes between half an inch and 6 inches, add a self-adhesive fiberglass mesh patch (around $5 to $8 for a multipack). For holes larger than 6 inches, add a small piece of 1/2-inch drywall, two 1-by-3-inch or 1-by-4-inch furring strips, drywall screws, and drywall tape.
Additional supplies include 120-grit and 220-grit sandpaper or a sanding sponge, a primer (water-based drywall primer is ideal, roughly $12 to $18 per quart), and paint that matches your wall. A drop cloth and painter’s tape round out the kit.
How to Patch Drywall Holes by Size
The method you choose depends almost entirely on the hole’s diameter, because larger openings need structural backing while smaller ones only need surface filling.
Tiny Holes Under Half an Inch (Nail Holes, Screws, Small Dings)
Difficulty: 1/5 | Time: 30 to 60 minutes including drying
Apply a small amount of lightweight spackling paste with your fingertip or a putty knife. Overfill the hole very slightly. Let it dry completely (usually 30 to 60 minutes for a thin application). Sand flush with 220-grit sandpaper, prime, and paint. That is genuinely all there is to it for nail pops and pin holes.
Small Holes from Half an Inch to 6 Inches (Doorknob Dents, Anchors, Small Punctures)
Difficulty: 2/5 | Time: 4 to 6 hours total with drying between coats
- Clean the edges. Remove any loose drywall paper or crumbled gypsum around the hole with a utility knife.
- Apply a self-adhesive mesh patch. Center it over the hole and press it firmly to the wall.
- First coat of mud. Using a 6-inch drywall knife, apply joint compound over the mesh in a thin, smooth layer. Feather the edges outward about 3 inches. Let it dry fully (1 to 2 hours with good airflow, or overnight in humid conditions).
- Second coat. Apply a second, slightly wider coat with an 8-inch knife. Feather out to about 6 inches. Let it dry completely.
- Third coat (optional but recommended). A very thin skim coat with a wide blade removes most tool marks and ridges.
- Sand lightly. Use 120-grit first to level high spots, then 220-grit to smooth.
- Prime and paint. Unprimed compound absorbs paint unevenly and will show as a dull spot even after two coats of paint.
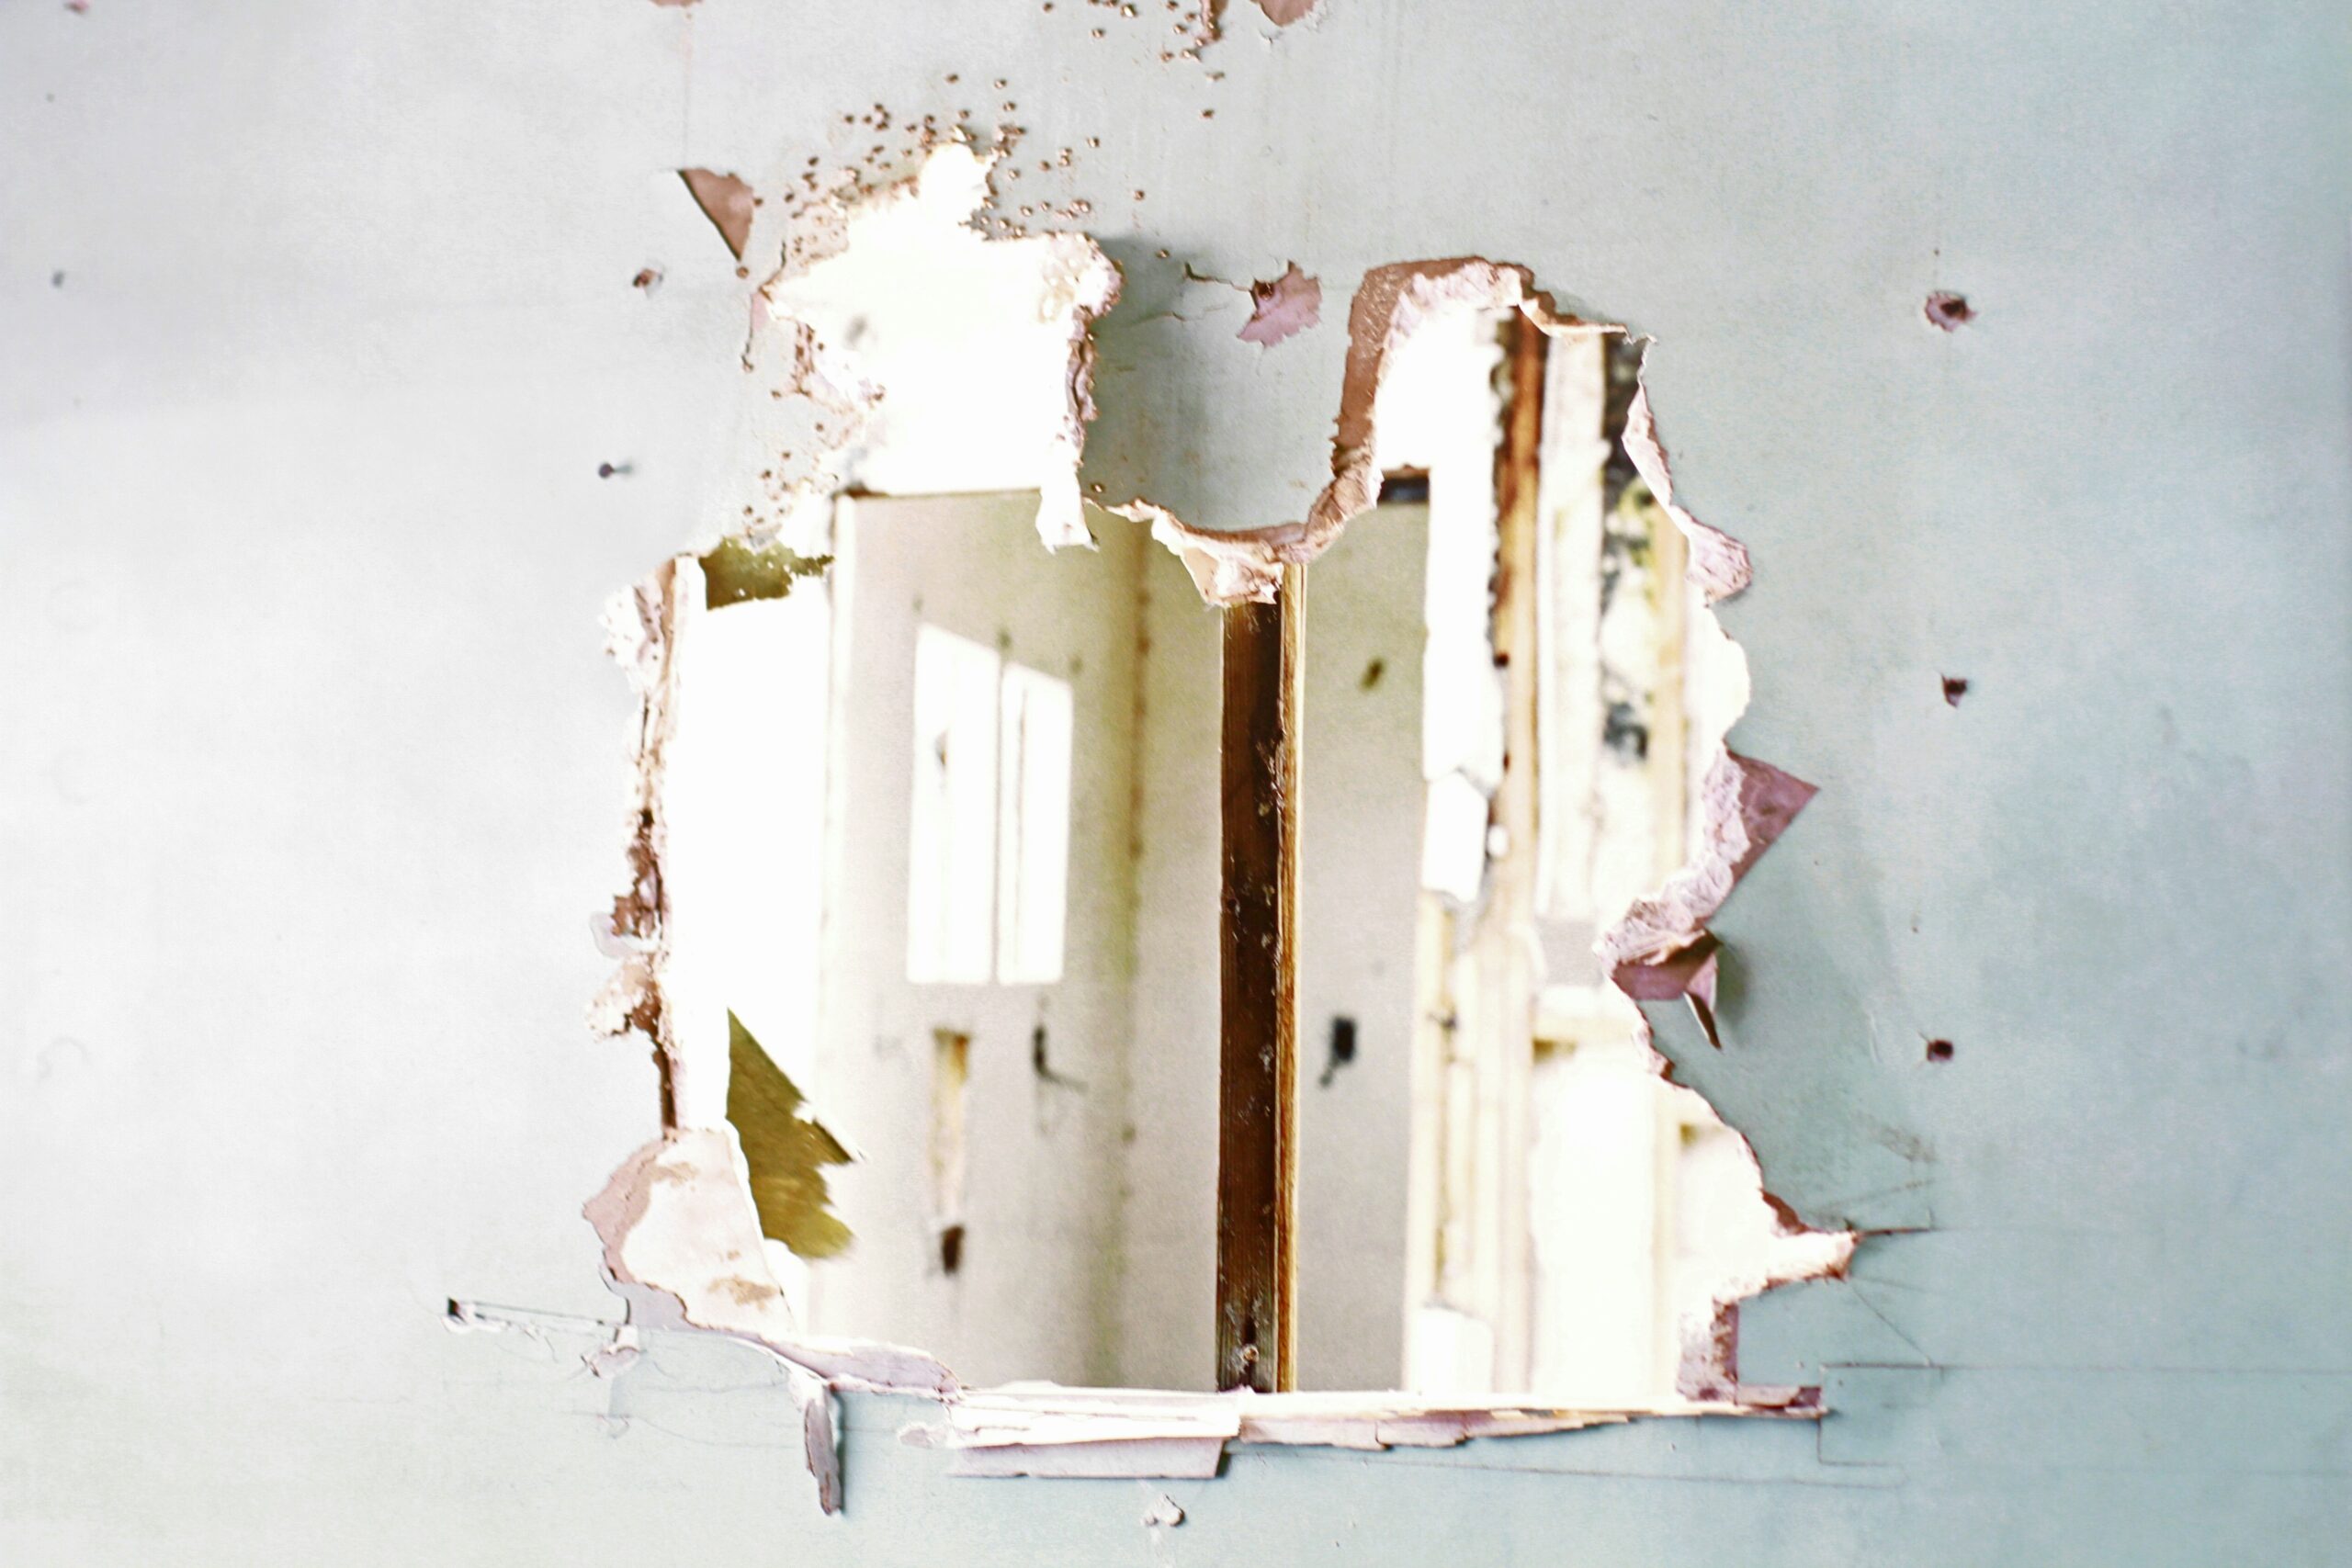
Large Holes Over 6 Inches (Renovation Cuts, Impact Damage)
Difficulty: 3/5 | Time: 6 to 10 hours over 1 to 2 days
Large holes need solid backing because mesh alone will flex and crack over time. The California patch method and the backing-board method are the two most reliable approaches.
California Patch Method (Best for Holes Up to About 8 Inches)
Cut a drywall piece about 4 inches larger on each side than the hole. Score the back of the patch about 2 inches from every edge and snap off the gypsum core, leaving 2-inch paper flaps on all four sides. Cut the wall hole to the exact size of the gypsum core. Apply joint compound around the hole, press the patch in place, and smooth the paper flaps flat onto the compound. Coat, dry, sand, prime, and paint as described above.
Backing-Board Method (Best for Holes Larger Than 8 Inches)
Cut the damaged area into a clean rectangle using a drywall saw. Measure the distance between wall studs (typically 16 inches on center) and cut two 1-by-4 furring strips long enough to screw into the existing drywall on either side of the opening as backing supports. Screw the strips in place through the existing drywall, cut a new drywall piece to fit, and screw it to the furring strips. Tape all seams with paper or mesh tape, apply three feathered coats of compound, sand, prime, and paint.
Safety Precautions You Should Not Skip
Drywall dust and older building materials present real respiratory and chemical hazards that require specific steps before you start cutting or sanding.
Drywall Dust: A Bigger Risk Than Most People Realize
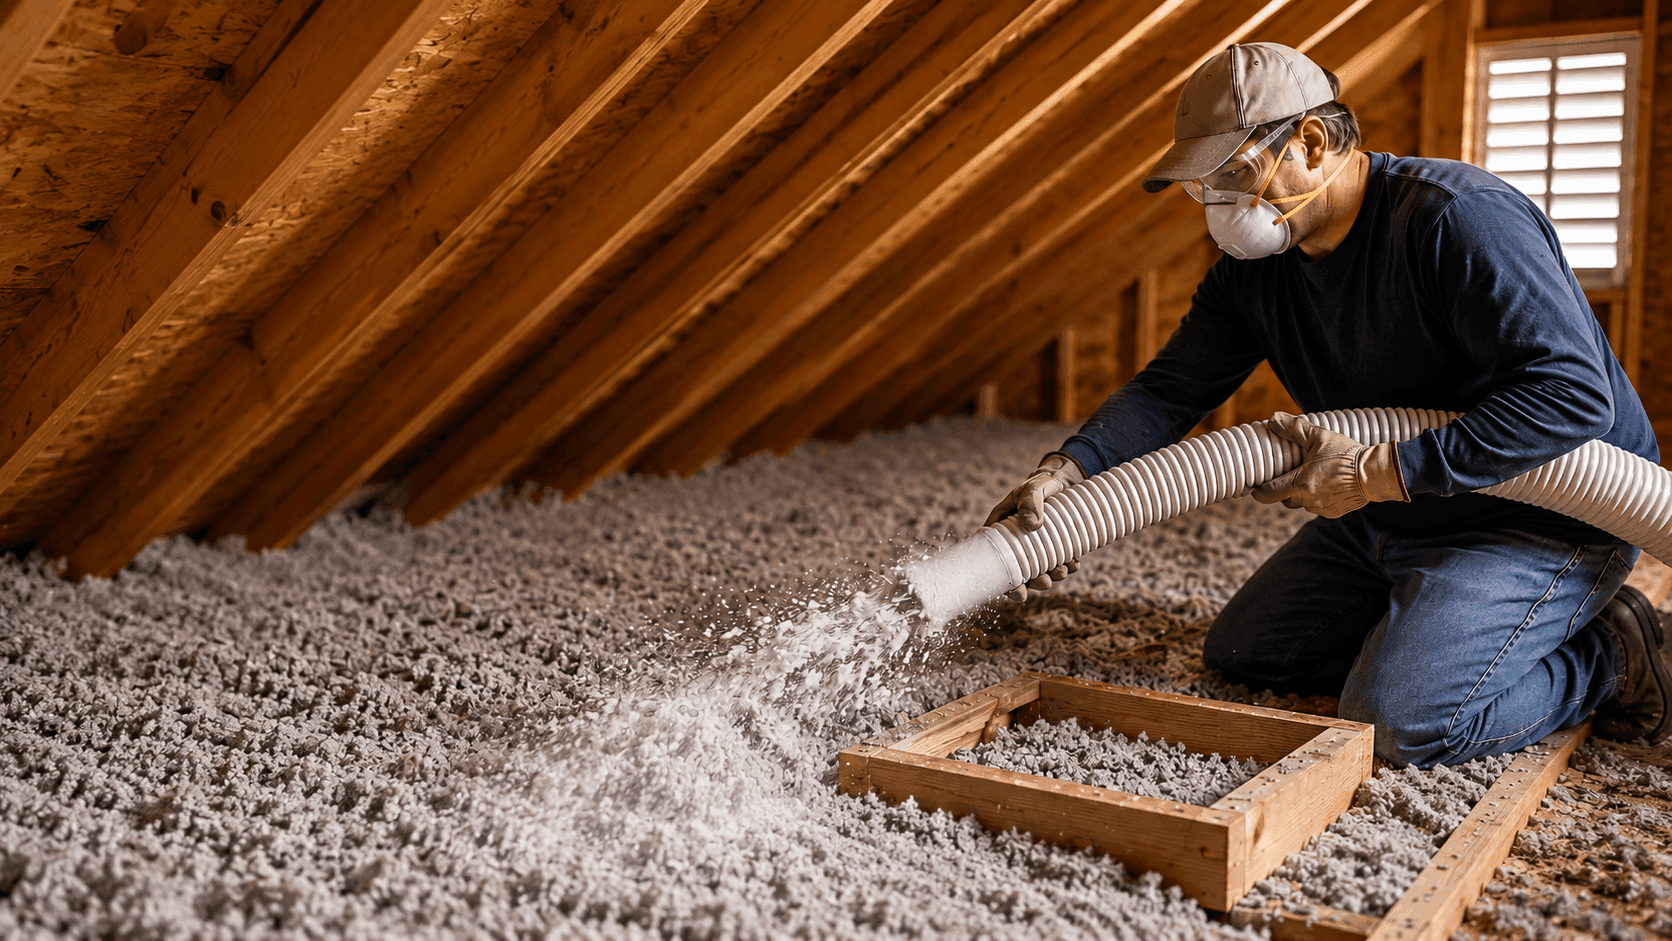
Joint compound dust contains gypsum, silica, talc, and mica. According to a NIOSH report on controlling drywall sanding dust exposures, vacuum-assisted sanding systems reduce airborne dust concentrations by 80 to 97 percent compared to conventional dry sanding. Even for a small repair, wearing an N95 respirator and opening windows is not overcautious, it is simply correct practice. A standard household vacuum makes dust exposure worse by recirculating fine particles; a wet/dry shop vacuum with a HEPA filter is the right tool for cleanup.
The US EPA’s best practices for indoor air quality during remodeling recommend sealing off the work area with 6-mil poly sheeting and maintaining ventilation to the outdoors rather than into other rooms of the home.
Lead Paint and Asbestos in Older Homes
If your home was built before 1978 in the US, the existing wall layers may contain lead-based paint. Sanding through those layers creates hazardous dust. The EPA’s lead-safe renovation guidance for DIYers outlines containment steps, including plastic sheeting, HEPA-filter tools, and wet-misting before sanding, that significantly reduce lead dust exposure. For large repairs in pre-1978 homes, hiring an EPA-certified Lead Renovator is often worth considering.
Canadian homeowners should note that, according to Health Canada’s guidance on asbestos risks, asbestos may still be found in drywall compounds, putty, and sealants in homes built before 1990. If you suspect asbestos-containing materials, do not sand or cut them. Contact a certified abatement contractor before proceeding.
Natural Resources Canada also specifically advises against using standard household vacuums for drywall dust cleanup, recommending wet/dry HEPA vacuums as the appropriate tool for Canadian DIY homeowners.
Drywall Repair: Method, Cost, and Time at a Glance
| Hole Size | Method | Materials Cost (USD) | Difficulty (1-5) | Estimated Total Time |
|---|---|---|---|---|
| Under 1/2 inch | Spackling paste only | $3 to $6 | 1 | 30 to 60 minutes |
| 1/2 inch to 3 inches | Mesh patch + joint compound | $10 to $18 | 2 | 4 to 6 hours |
| 3 to 6 inches | Mesh patch + 3-coat mud | $15 to $25 | 2 | 5 to 8 hours |
| 6 to 10 inches | California patch | $20 to $30 | 3 | 6 to 10 hours over 1 to 2 days |
| Over 10 inches | Backing-board + new drywall | $25 to $45 | 3 to 4 | 8 to 12 hours over 1 to 2 days |
| Structural or water-damaged | Professional repair required | $150 to $500+ (labor) | N/A | Hire a licensed contractor |
Common Mistakes That Ruin a Drywall Repair
Most failed drywall patches trace back to three recurring errors: rushing the drying time, skipping primer, and applying compound too thickly in a single coat.
Applying joint compound in one thick coat is the most common beginner mistake. Thick mud shrinks as it dries, leaving cracks and a sunken surface that looks worse after painting than the original hole did. Three thin coats, each allowed to dry completely, always produce a better result than one heavy application.
Skipping primer before painting is the second most costly shortcut. Bare joint compound is extremely porous and absorbs paint at a very different rate than the surrounding wall, creating a visible dull spot called “flashing” even after several coats of finish paint. A single coat of water-based drywall primer eliminates this problem entirely.
Sanding before the compound is fully dry is another frequent error. Wet compound tears rather than sands, leaving gouges that require yet another coat. If the compound still feels cool to the touch, it is not dry. Wait for it to reach room temperature and turn uniformly white before sanding.
When Should You Hire a Professional Instead?
Some drywall problems are symptoms of larger issues that a cosmetic repair will hide without solving, and those situations call for a licensed contractor rather than a patch kit.
Hire a professional if the damage is near electrical wiring, plumbing, or gas lines and you are not certain of their exact location. If the drywall is soft, stained brown or yellow, or has a musty smell, the underlying cause is likely water damage or mold, and patching over it will not fix the problem. Structural wall damage, sagging ceilings, or holes that expose load-bearing framing are also situations where professional assessment comes before any repair work. In these cases, the patch is the last step, not the first.
Alternative Perspectives
Hire a Pro Every Time: Some homeowners and real estate professionals argue that DIY drywall repairs, even competent ones, are detectable by experienced inspectors and buyers during a home sale. A professional finish from a licensed drywall contractor using a spray texture system will more closely match original factory-applied textures, particularly on ceilings and in homes with orange peel or knockdown finishes.
Patch vs. Full Panel Replacement: A minority of contractors recommend replacing an entire drywall panel from stud to stud rather than patching mid-panel, arguing that panel replacement is faster in aggregate, produces a cleaner seam, and eliminates the risk of the repair telegraphing through paint over time. For large sections of damage, this is a legitimate alternative worth pricing out before committing to a multi-step patch repair.
“Drywall finishing is a skill that takes years to master. Three coats, feathered wide, and a good primer are the non-negotiables.” According to the Gypsum Association, proper joint treatment and adequate drying time between coats are the primary factors determining the long-term appearance and durability of any drywall repair.According to the US EPA’s guidance on lead-safe renovations for DIYers, homeowners working in pre-1978 properties should treat all painted surfaces as potentially lead-containing until tested, and should use plastic sheeting containment, wet-sanding or HEPA-equipped tools, and careful cleanup before resuming normal room use.
Disclaimer: DIY projects involve risk. Always follow local building codes and safety regulations. Consult licensed professionals for electrical, structural, plumbing, or gas-related work. Results may vary.
Frequently Asked Questions
Each coat of standard all-purpose joint compound needs at least 24 hours to dry fully in normal indoor conditions (around 70°F and moderate humidity). Lightweight compounds may dry in as little as 12 to 16 hours. High humidity or cold temperatures slow drying considerably. Never paint until the compound is uniformly white and no longer cool to the touch. Rushing this step is the leading cause of cracks and paint flashing on repairs.
Spackling paste works well for holes under about half an inch, such as nail holes and small anchor holes, because it dries quickly and sands easily. For larger repairs with a mesh patch or backing board, all-purpose joint compound is the better choice. It bonds more reliably to mesh and paper tape, feathers more smoothly over larger areas, and produces a more durable finished surface. Using spackle over mesh often results in cracking because spackle is not formulated for that type of bridging application.
Yes, texture matching is often the hardest part of a drywall repair, and skipping it leaves a noticeably flat spot on a textured wall. For light orange peel texture, a spray can of orange peel texture (available at most hardware stores for about $8 to $12) applied from about 18 inches away closely approximates factory texture after a little practice on cardboard. Heavier knockdown or skip-trowel textures are harder to match and may require a professional to blend seamlessly, particularly in living areas and hallways where raking light reveals inconsistencies.
It can be, with the right precautions. In US homes built before 1978 and Canadian homes built before 1990, existing paint layers and joint compounds may contain lead or asbestos. The EPA recommends that DIYers in these homes use plastic sheeting containment, HEPA-filter tools, and wet-misting before sanding to reduce hazardous dust. If you are unsure whether materials contain asbestos, do not cut or sand them; contact a certified inspector or abatement contractor first. For large repairs in older homes, hiring an EPA Lead-Certified Renovator (US) or a certified abatement professional (Canada) is often the safest and most practical choice.