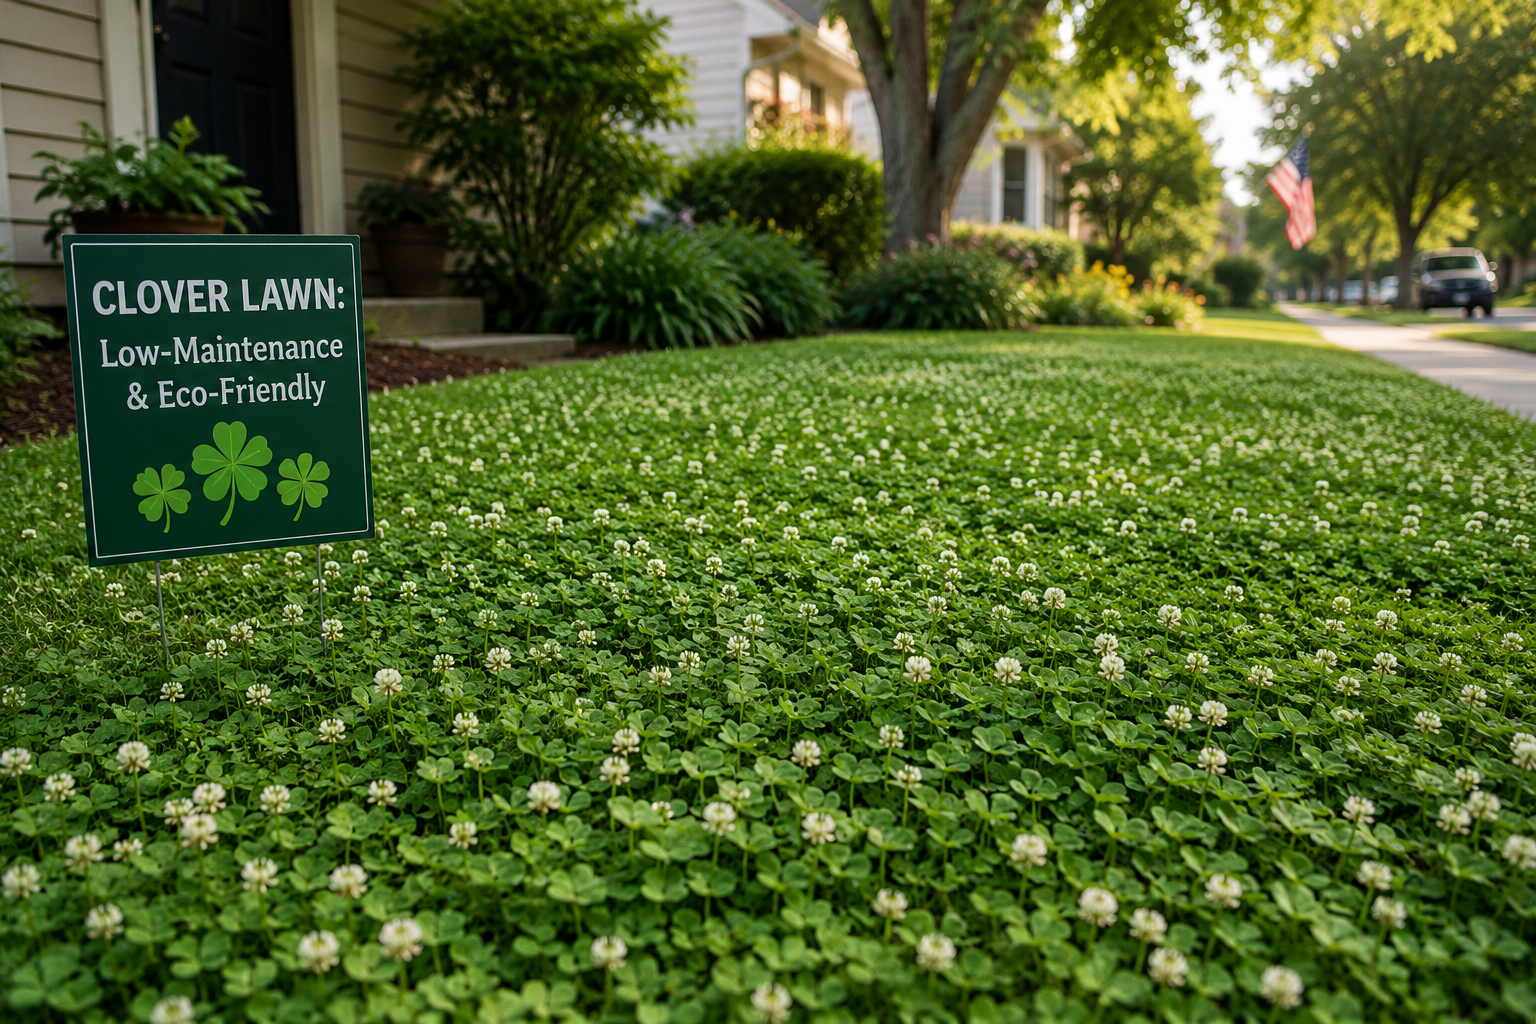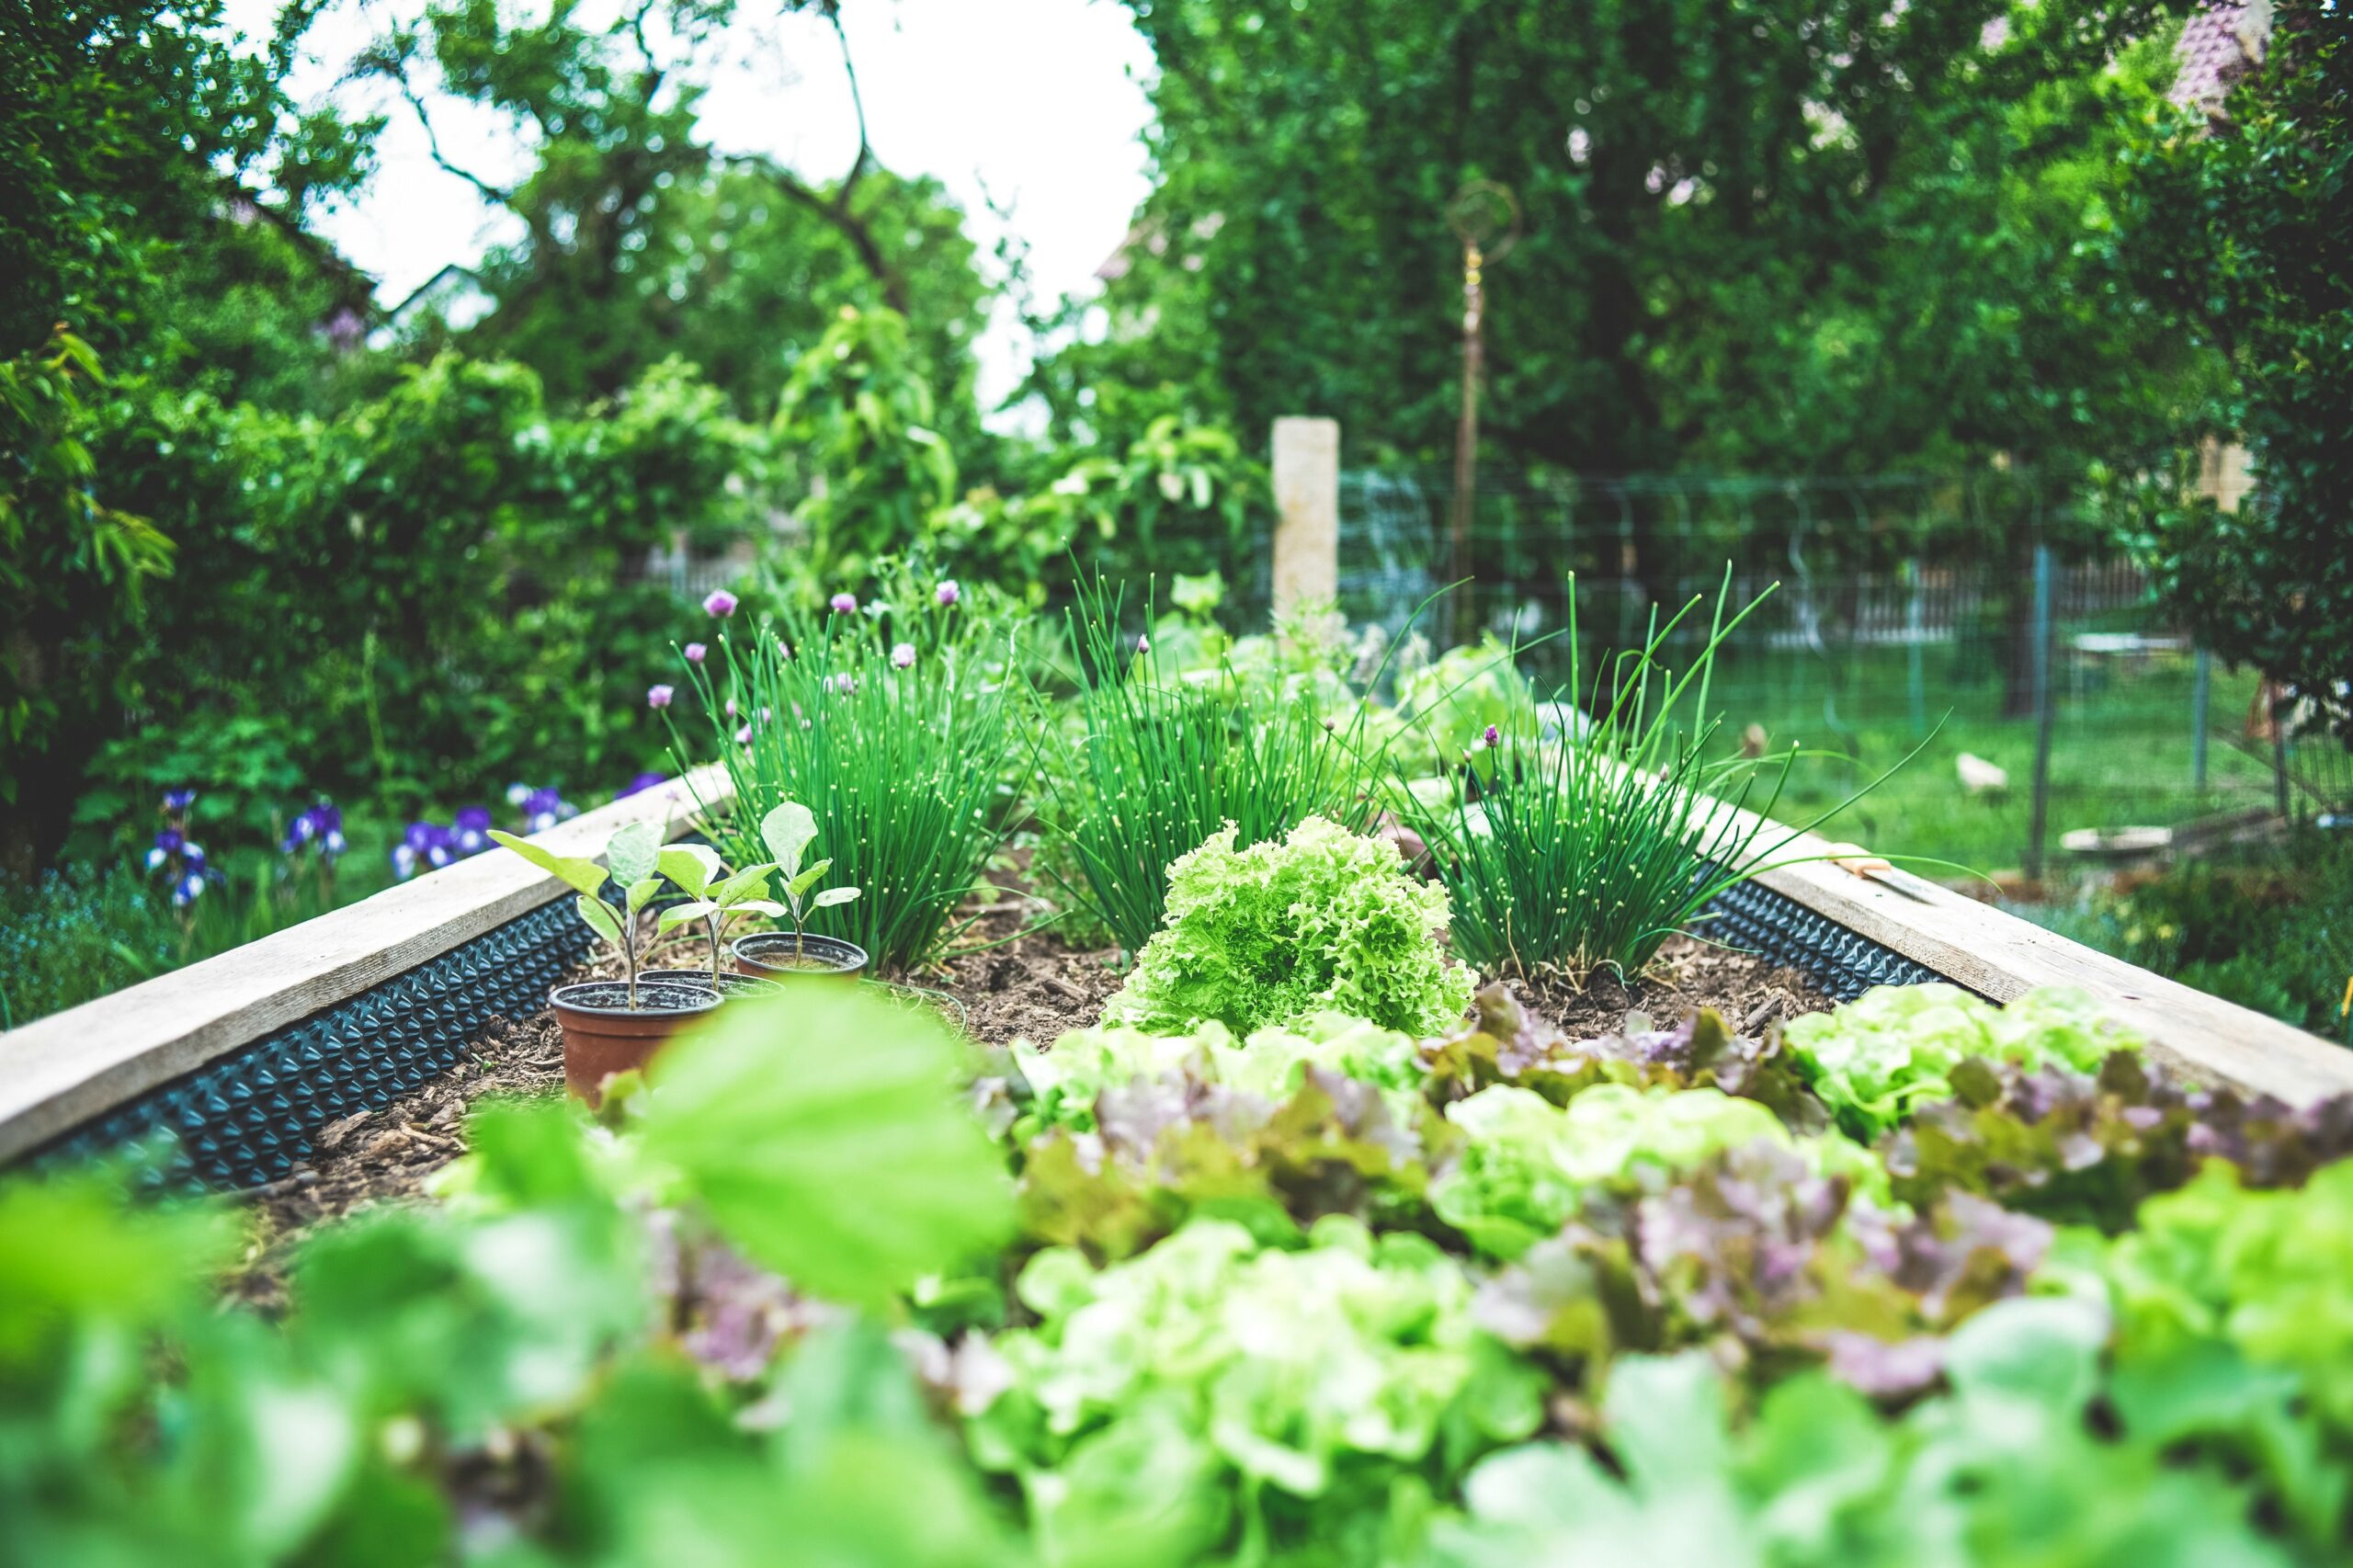
If you’ve been dreaming about growing your own tomatoes, lettuce, or herbs, a raised bed vegetable garden is one of the most beginner-friendly ways to get started. And when you combine raised beds with no-till methods, you also protect your soil’s natural structure, reduce weeding over time, and skip the backbreaking work of digging. Whether you’re converting a patch of lawn or starting from scratch, this guide walks you through every step. For more inspiration across your property, explore our Home articles and our full collection of more gardening guides.
Key Takeaways
- The No-Till Philosophy: Instead of traditional digging or rototilling, no-till gardening builds upward using layers of organic matter. This approach protects beneficial soil microbes, earthworms, and fungal networks that naturally boost plant health.
- Ideal for Beginners: Raised beds provide immediate control over soil quality and drainage while keeping paths clearly defined. This setup eliminates heavy physical labor and delivers high success rates in the very first growing season.
- The Power of Sheet Mulching: Laying thick, overlapping layers of plain cardboard directly over grass or weeds acts as a natural barrier. It smothers competing growth and gradually decomposes into rich organic matter.
- The Golden Soil Ratio: A proven raised bed soil mix consists of one-third compost, one-third topsoil, and one-third aerating material (such as perlite or coarse sand) to guarantee excellent drainage and moisture retention.
- Smart Crop Selection: Leafy greens, bush beans, and zucchini are incredibly forgiving for beginners. Deeper-rooted crops like tomatoes, peppers, and carrots require a minimum bed depth of 10 to 12 inches to thrive.
- Seasonal Maintenance Rule: In the fall, always cut spent plants at the soil level rather than pulling them out by the roots. Leaving the roots to decompose naturally preserves the soil structure and feeds the underground ecosystem through winter.
What Is a No-Till Raised Garden Bed?
A no-till raised garden bed is a growing space built on top of the ground using layered organic materials rather than digging or disturbing the existing soil. This approach preserves beneficial soil microbes, fungal networks, and earthworm activity that tillage would otherwise destroy.
Traditional gardening often starts with turning over the soil with a rototiller or spade. No-till methods take the opposite approach: you build upward instead of digging down. The layers of cardboard, compost, and organic matter eventually break down into rich, workable growing medium while suppressing weeds from below.
According to the University of New Hampshire Extension, avoiding tillage preserves soil microbial communities and fungal networks that play a critical role in plant nutrition and disease resistance. Once those networks are disrupted by digging, they can take seasons to recover.
Why Choose Raised Bed Gardening for Beginners?
Raised beds give beginners immediate control over soil quality, drainage, and garden layout, making it easier to achieve good results in the first growing season even on poor native soil.
Raised beds solve several common problems at once. They drain better than in-ground gardens, warm up faster in spring, and keep your growing area clearly defined so foot traffic doesn’t compact the soil. The contained space also makes it easier to build the ideal raised bed soil mix rather than trying to amend an entire yard.
From a cost standpoint, a basic 4×8-foot cedar raised bed kit typically runs $60 to $150. Building one yourself from untreated cedar or Douglas fir lumber generally costs $40 to $80 in materials. Filling a 4×8-foot bed to a depth of 12 inches requires roughly 32 cubic feet of soil mix, which may cost $50 to $120 depending on your region and whether you buy bagged or bulk materials.
How Do You Build a No-Till Raised Bed Step by Step?
Building a no-till raised bed involves framing the bed, laying cardboard directly on the ground to smother weeds, then layering organic materials topped with a quality soil mix for planting.
Step 1: Choose Your Location
Most vegetables need at least six to eight hours of direct sunlight per day. Pick a spot that gets full sun, is reasonably level, and has access to a hose or rain barrel. Avoid low spots that collect standing water. A 4×4-foot or 4×8-foot bed is ideal for beginners because you can reach the center from either side without stepping in.
Step 2: Frame the Bed
Common frame materials include cedar, Douglas fir, composite lumber, and galvanized steel. Avoid pressure-treated lumber from before 2004, which may contain arsenic compounds. According to the USDA National Agricultural Library, newer ACQ (alkaline copper quaternary) treated lumber is considered safer for food gardens, but untreated rot-resistant wood like cedar remains the most widely recommended option. Beds should be at least 6 inches deep; 10 to 12 inches gives roots more room to thrive.
Step 3: Lay the Cardboard Base (Sheet Mulching)
This is the heart of the no-till approach. Remove any large debris from the ground, then lay overlapping layers of plain cardboard (remove all tape and staples) directly on the grass or soil. Wet the cardboard thoroughly. The University of Florida IFAS Extension recommends overlapping cardboard sheets by at least six inches to prevent weeds from finding gaps. The cardboard smothers existing grass and weeds, then breaks down over several months, feeding earthworms and the soil below.
Step 4: Layer Your Organic Materials
On top of the cardboard, alternate carbon-rich materials (straw, dry leaves, wood chips) with nitrogen-rich materials (grass clippings, kitchen scraps, fresh compost). This lasagna layering technique, also called sheet composting, creates a foundation that breaks down into nutrient-rich material over time. The Oregon State University Extension Service explains that this layered approach mimics the natural forest floor, supporting the transplanting and direct seeding you’ll do above it.
Step 5: Add Your Soil Mix
Top the layers with a quality growing medium. A widely recommended raised bed soil mix for 2026 combines roughly one-third compost, one-third topsoil or garden loam, and one-third an aerating material like perlite, coarse sand, or aged wood chips. This blend drains well while retaining enough moisture for vegetables. Fill to within one to two inches of the top of your frame.
What Are the Best Vegetables for Raised Beds?
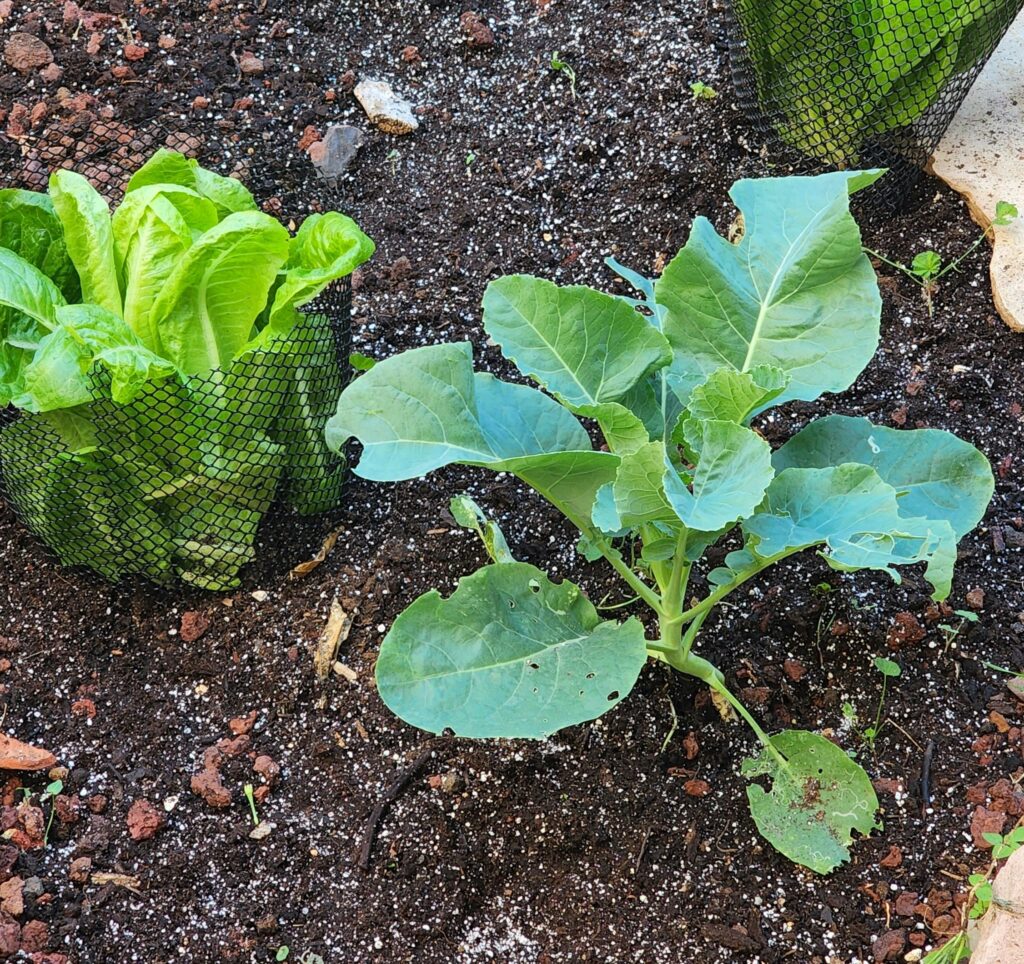
The best vegetables for raised beds are those that respond well to improved drainage and rich soil, including tomatoes, lettuce, carrots, beans, and herbs, all of which can thrive in a 10- to 12-inch-deep bed.
Comparing Popular Vegetable Choices
| Vegetable | Minimum Bed Depth | Sun Requirement | Days to Harvest | Difficulty Level |
|---|---|---|---|---|
| Lettuce / Salad Greens | 6 inches | Partial to full sun | 30-45 days | Easy |
| Bush Beans | 6-8 inches | Full sun | 50-60 days | Easy |
| Tomatoes (determinate) | 12 inches | Full sun (8+ hours) | 60-80 days | Moderate |
| Carrots | 12 inches | Full sun | 70-80 days | Moderate |
| Zucchini / Summer Squash | 12 inches | Full sun | 45-55 days | Easy |
| Basil / Parsley / Chives | 6 inches | Full to partial sun | 30-60 days | Easy |
| Peppers | 10-12 inches | Full sun | 70-90 days | Moderate |
How Do You Maintain a No-Till Raised Bed Through the Seasons?
No-till raised bed maintenance focuses on topping up compost each spring, cutting plants at soil level rather than pulling roots in fall, and protecting the soil surface with mulch or cover crops over winter.
Spring: Refresh the Soil
Each spring, add one to two inches of fresh compost across the top of the bed. Do not dig it in. The University of Vermont Extension recommends applying compost in early spring before planting, which allows it to begin integrating naturally without disturbing the soil structure you’ve built.
Summer: Mulch and Water Consistently
A two- to three-inch layer of straw or shredded leaves around your plants reduces moisture loss, suppresses weeds, and keeps soil temperatures more stable during summer heat. Water deeply and less frequently rather than shallow daily watering, encouraging roots to grow deeper.
Fall: Cut, Don’t Pull
At the end of the season, cut spent plants at soil level rather than pulling them out by the roots. Leaving roots in place preserves the soil structure and feeds microorganisms as roots decompose. According to the University of Vermont Extension, you can also plant a cover crop like grain rye in fall to protect bare soil, then cut it down in spring before planting.
“According to the University of Vermont Extension, applying a layer of straw, hay, or leaves in fall helps insulate soil microbes over winter and reduces erosion, keeping your no-till bed ready for the next season with minimal preparation.”
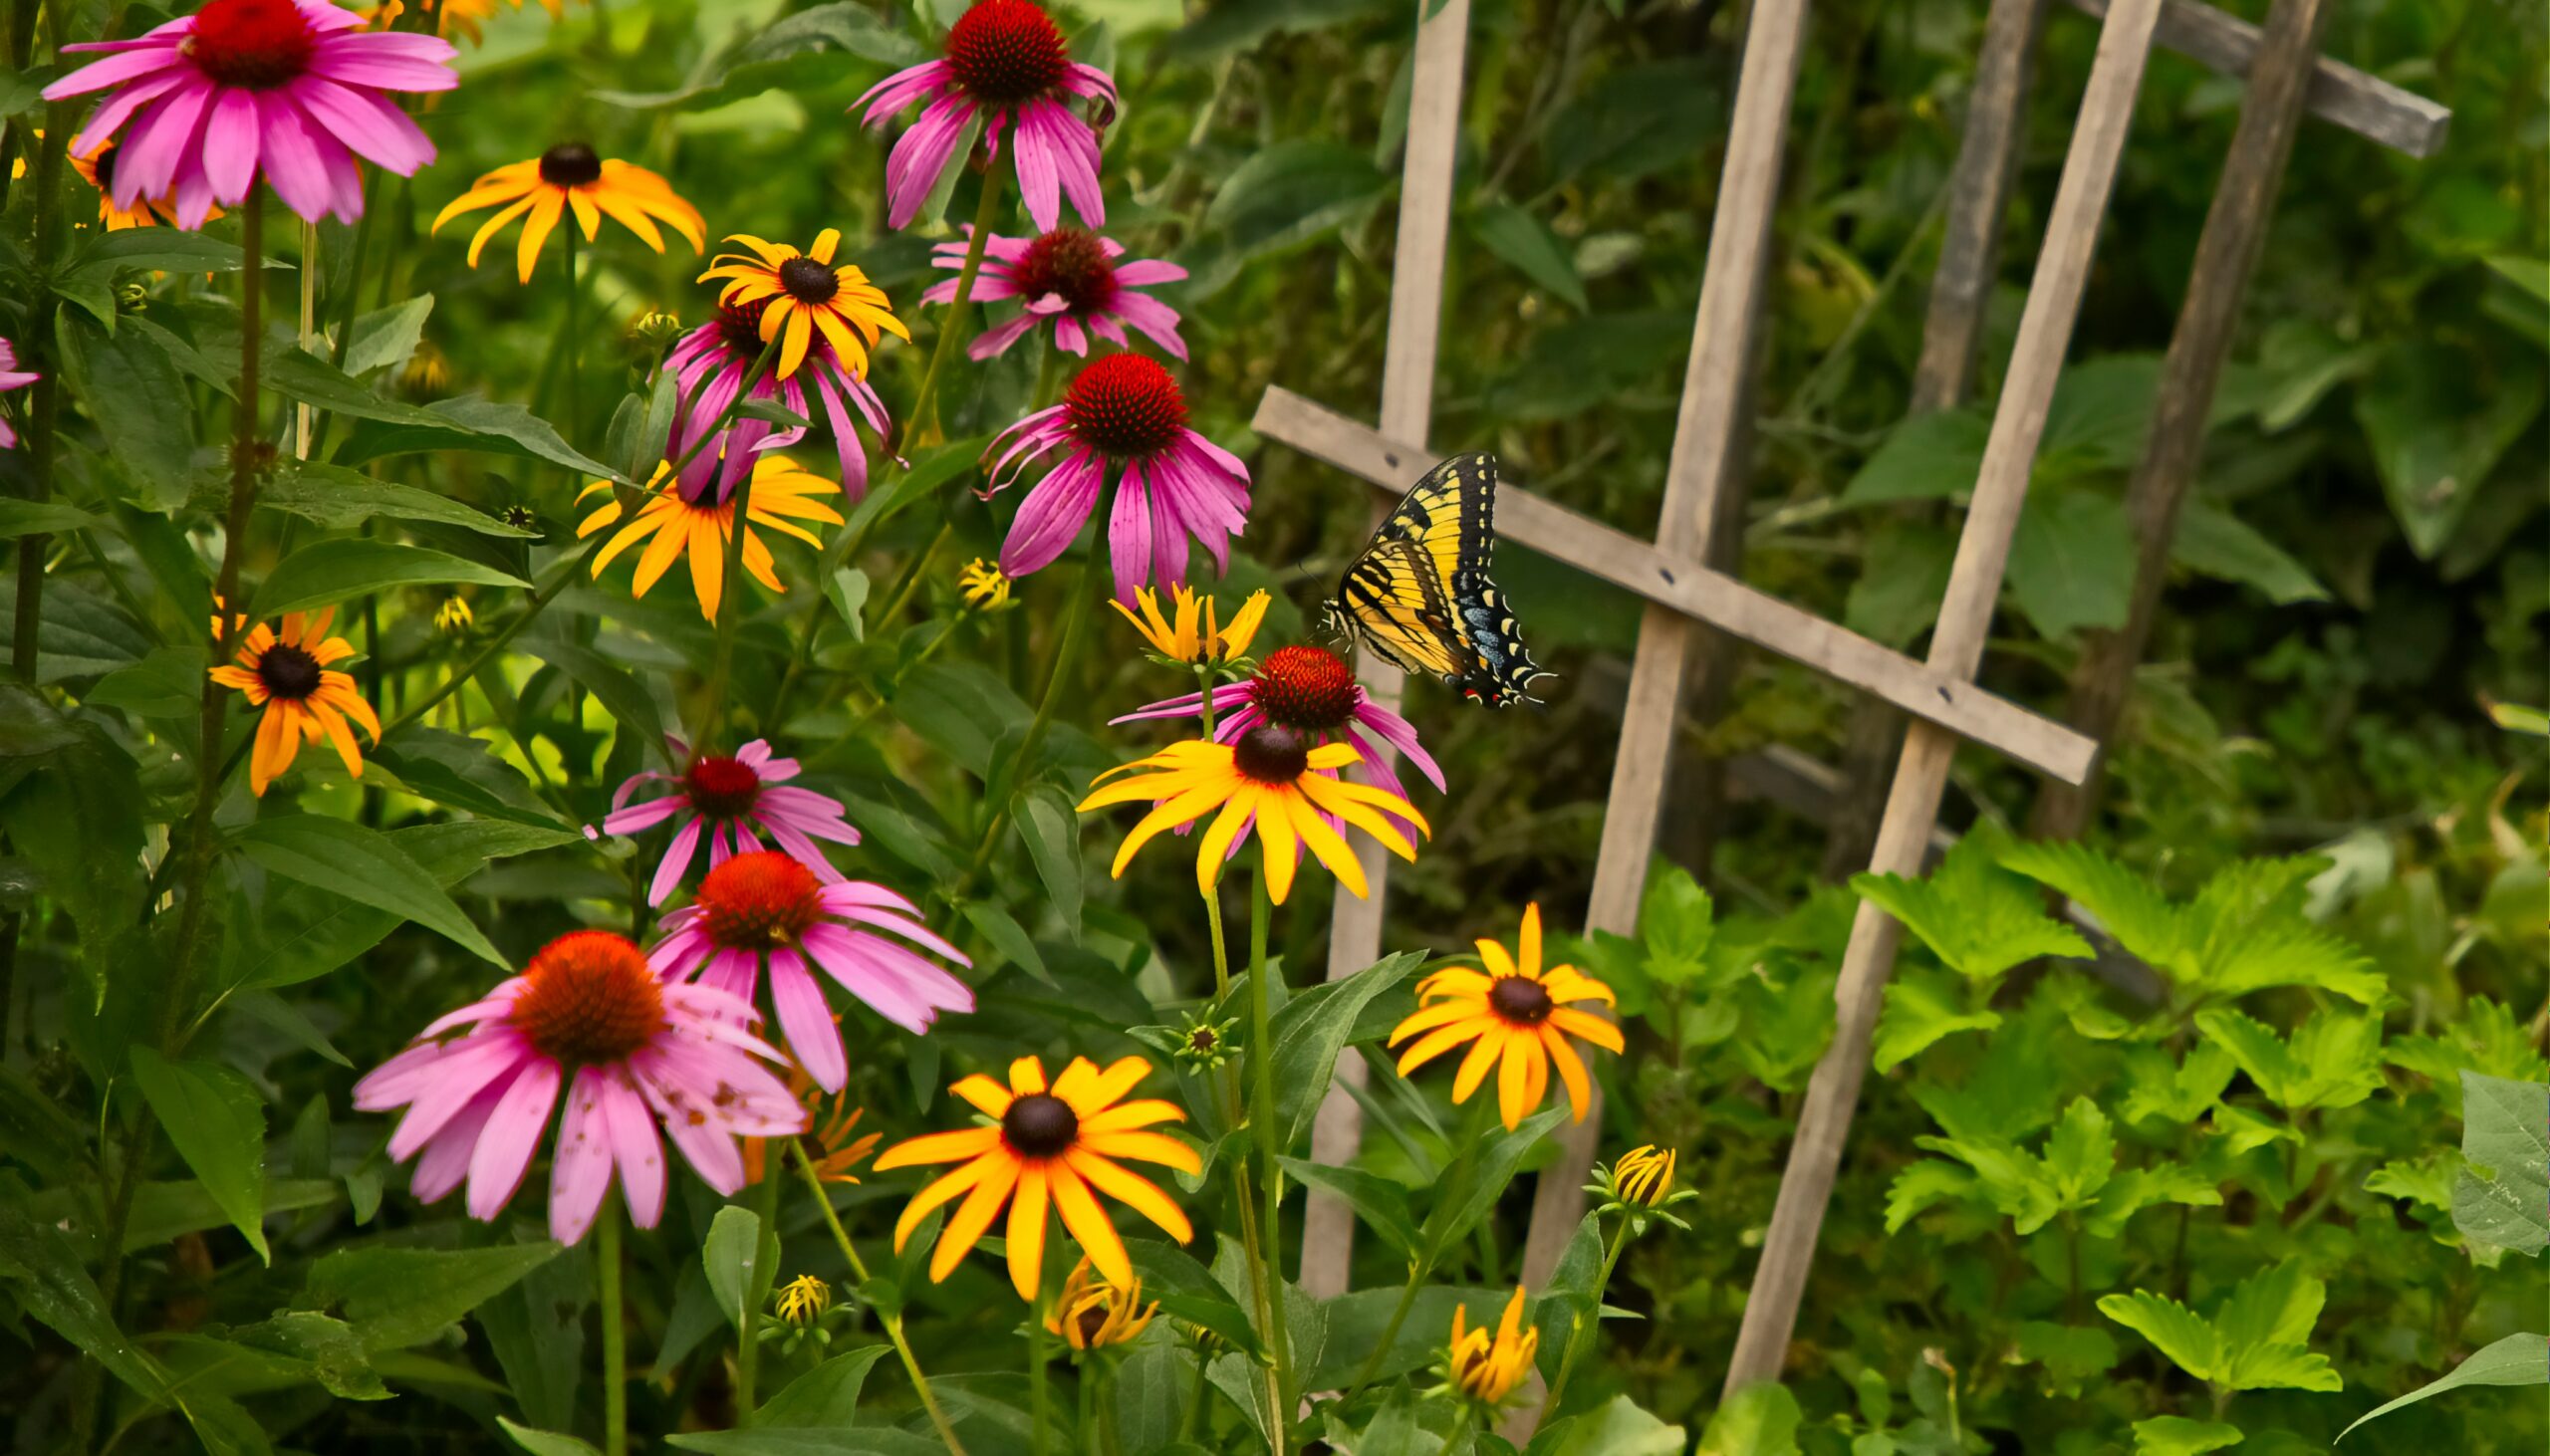
Companion Planting and Pollinators
Planting flowers like marigolds, nasturtiums, and borage alongside vegetables can attract beneficial insects and deter pests. If you want to take this further, positioning your raised beds near a dedicated pollinator garden can noticeably increase yields, since many fruiting vegetables depend on bees and other pollinators. Learn how to design and plant one with this guide to pollinator garden plants and layout.
Is No-Till Really Better Than Tilling?
Research consistently supports no-till gardening for long-term soil health, though tilling may sometimes be necessary when establishing a new bed in heavily compacted or rocky ground.
“According to the Oregon State University Extension Service, no-till gardening builds soil organic matter over time, improves water infiltration, and reduces soil erosion compared to conventional tilled beds, though it may require more planning upfront when converting lawn areas.”
Alternative Perspectives
While most university extension programs and soil scientists favor no-till for long-term soil health, some experienced gardeners argue that a single initial tilling to break up heavily compacted or clay-heavy soil can jumpstart a new bed more reliably than sheet mulching alone. Others point out that no-till requires more organic material upfront, which can be expensive or hard to source in some regions. In cold climates like the upper Midwest or Canada, cardboard and organic layers may not fully break down before spring planting, requiring supplemental soil. The best approach likely depends on your local soil type, climate, and access to organic materials. Neither method is universally right for every gardener or every yard.
Frequently Asked Questions
Most vegetables do well in a raised bed that is 10 to 12 inches deep. Shallow-rooted crops like lettuce and herbs can manage in as little as 6 inches, while tomatoes, carrots, and peppers benefit from 12 inches or more. Deeper beds also retain moisture better and give roots more room to spread.
Yes, fall is actually an ideal time to build a no-till raised bed. Laying cardboard and organic layers in fall gives the materials several months to break down before you need to plant. The University of Vermont Extension notes that protecting the bed with straw or leaves over winter also shields the soil from erosion and temperature extremes.
A reliable raised bed soil mix combines roughly equal parts quality compost, loamy topsoil or garden soil, and an aerating material like perlite or coarse sand. Avoid using straight garden soil from your yard, which tends to compact in containers. Many garden centers now sell pre-blended “raised bed mix” that works well as a starting point, with added compost each season to maintain fertility.
The cardboard base layer is your primary weed barrier, smothering existing grass and weeds underneath. Keeping two to three inches of mulch (straw, shredded leaves, or wood chips) on the soil surface also blocks light from reaching weed seeds. Over time, consistent mulching and healthy plant cover reduce weeding significantly compared to bare-soil gardens.
Disclaimer: DIY projects involve risk. Always follow local building codes and consult licensed professionals for electrical, structural, or plumbing work. Results may vary.